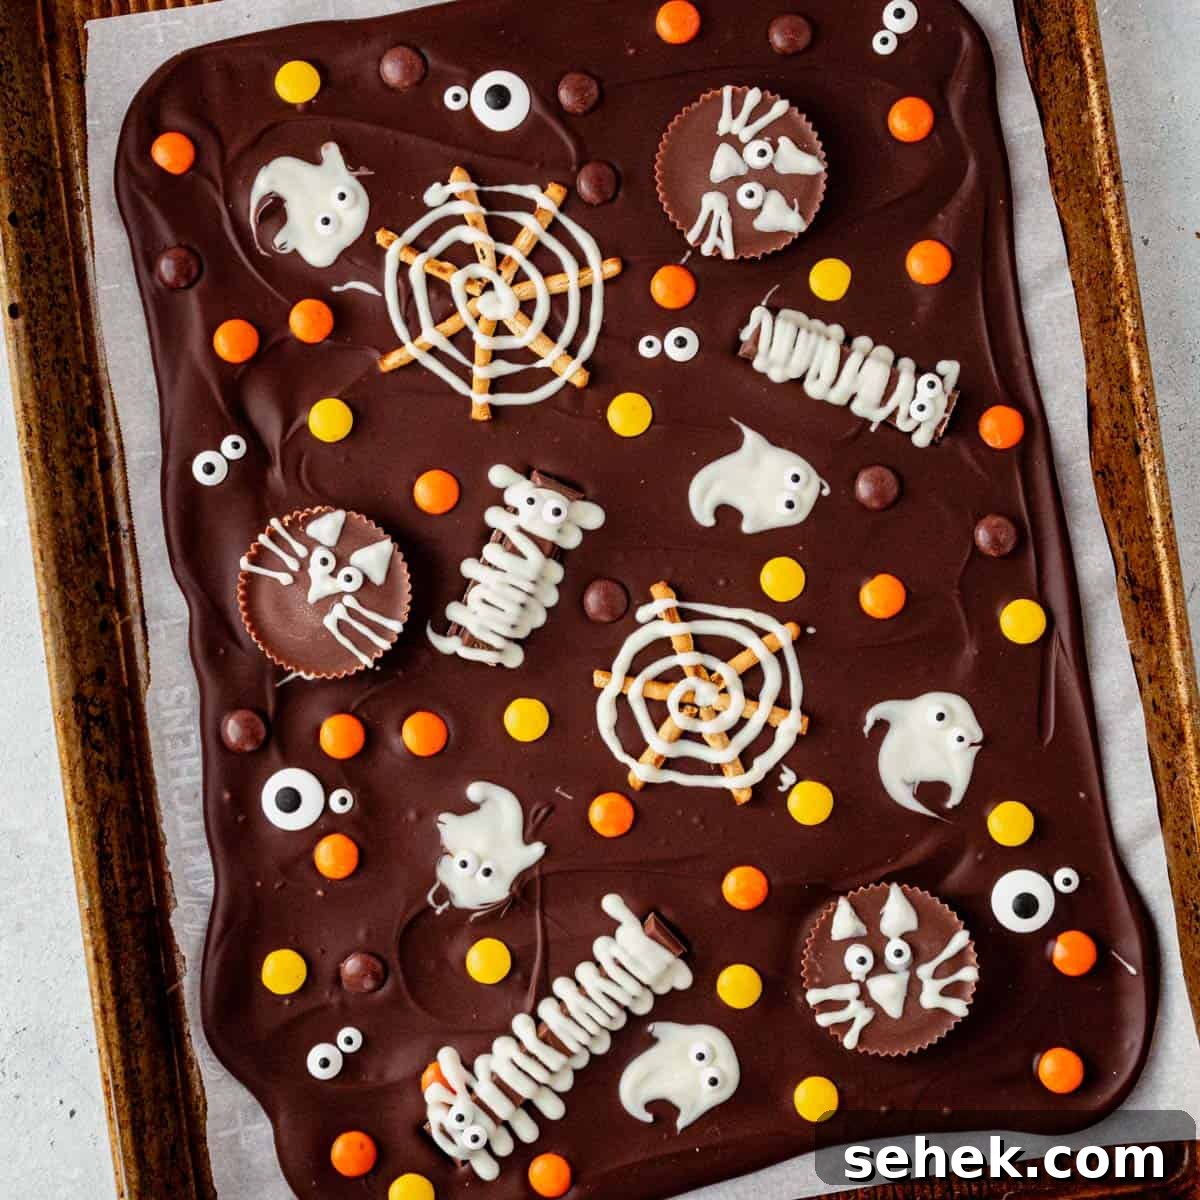
Halloween bark is an easy, festive treat made by melting chocolate, spreading it into a thin layer, and decorating it with your favorite candy and snacks. Popular toppings include candy eyeballs, candy corn, M&Ms, pretzel sticks, peanut butter cups, Kit Kats, and other leftover Halloween sweets. It’s a fun way to use up extra candy and creates a more memorable treat than plain bars.
This recipe is perfect for parties, classroom treats, or bringing to the office. It’s creative and impressive, yet simple to prepare. You can customize the chocolate base and mix-ins to suit your taste — dark, milk, or semi-sweet chocolate works well, and white chocolate is ideal for decorating ghosts, mummies, and spiderwebs.
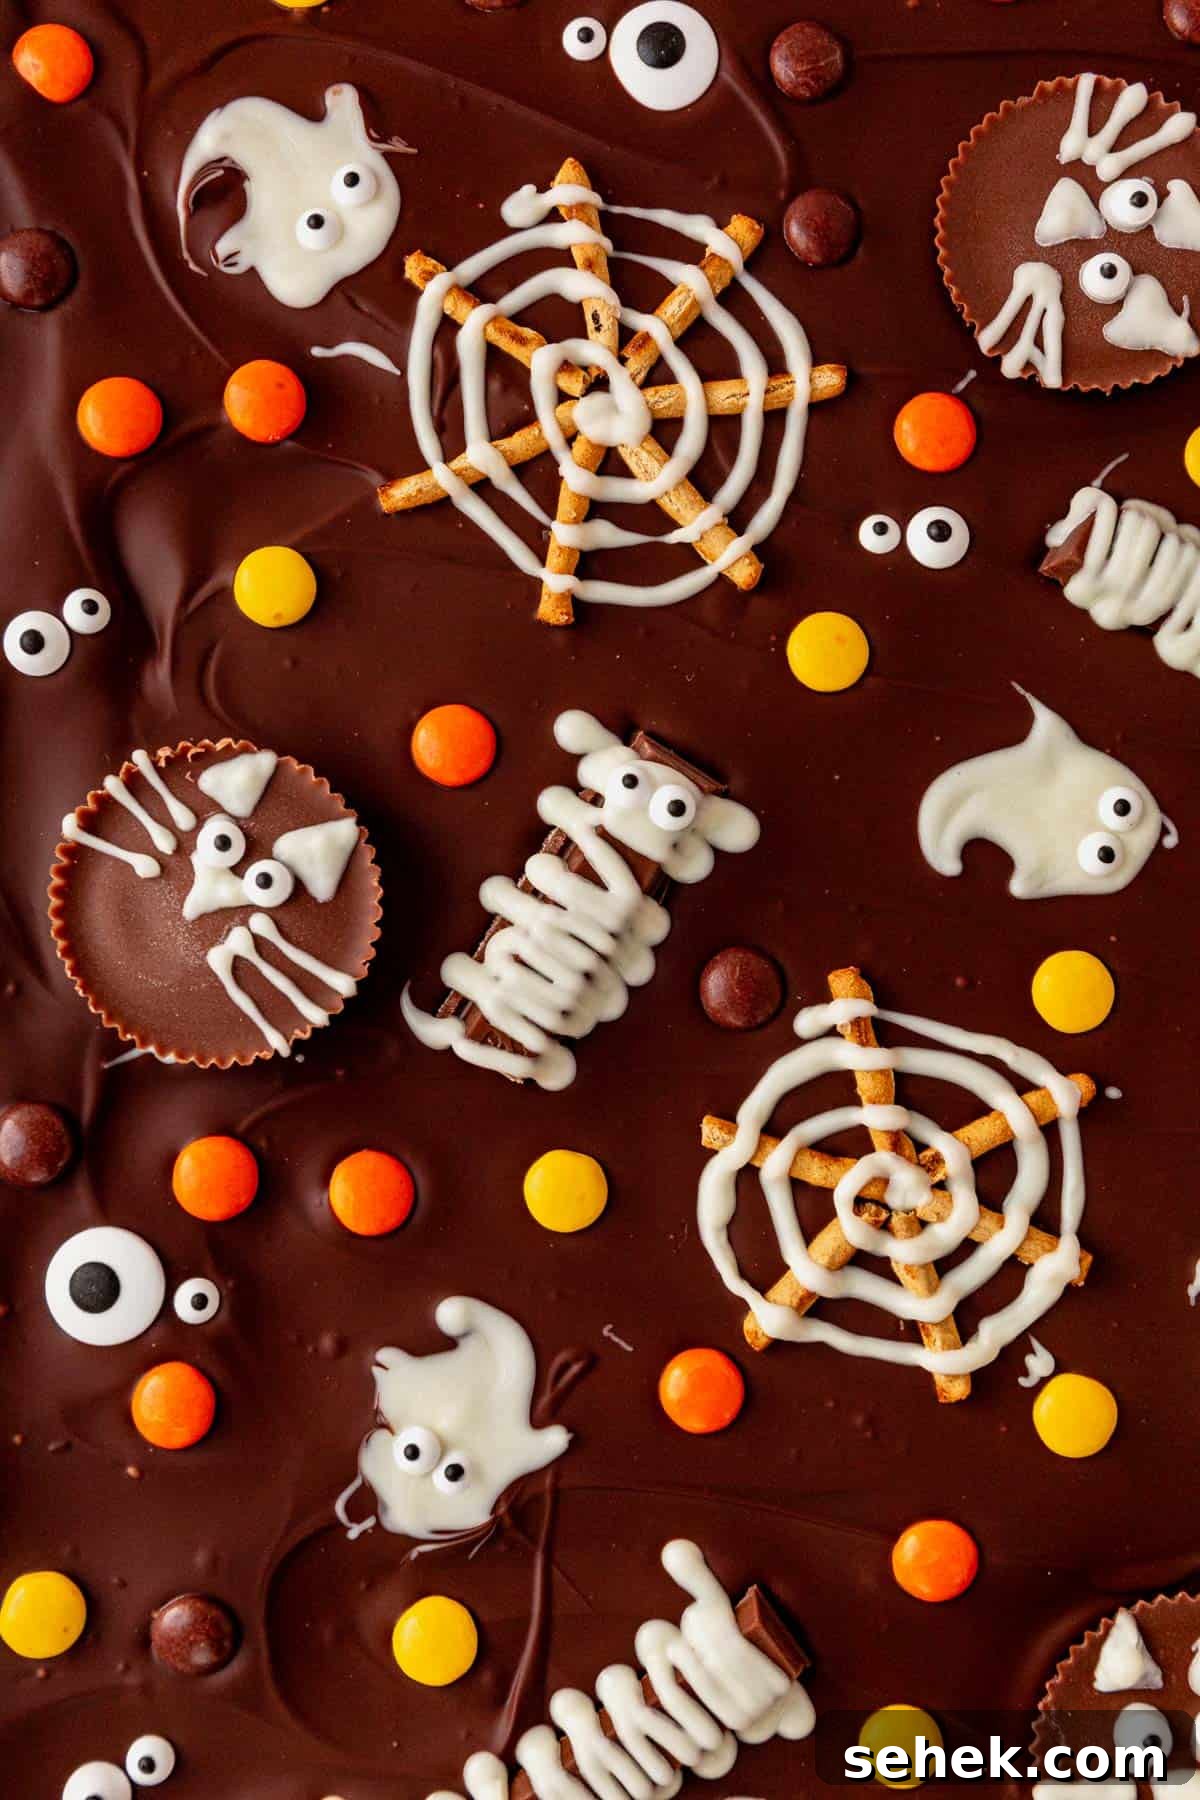
The highlight of spooky bark is the edible googly eyes — they make the pieces both cute and creepy. You can usually find candy eyes at grocery stores or specialty baking aisles, or make simple edible eyes at home if preferred. Use whatever candy you have on hand; the more variety, the more exciting each piece becomes.
How to Make Easy Halloween Chocolate Candy Bark
Below are the steps to make Halloween chocolate bark. For a printable version, use the ingredient list and instructions provided later in this article.
1. Melt the chocolate
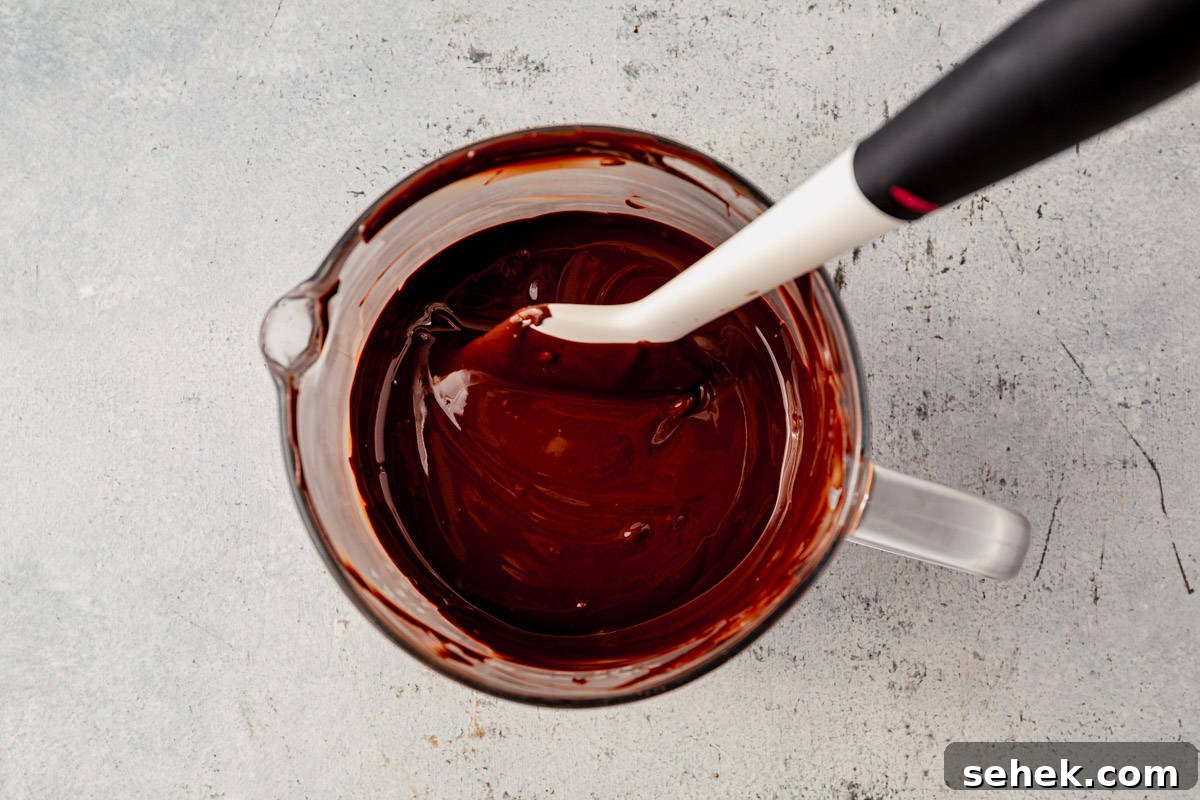
Melt semi-sweet chocolate in a double boiler or a microwave-safe bowl. If using the microwave, heat the chocolate in 30-second intervals, stirring between each session until smooth. Repeat the same process with the white chocolate in a smaller bowl for decorating details.
2. Spread the chocolate and add candy
Line a large baking sheet with parchment paper. Pour the melted semi-sweet chocolate onto the sheet and use an offset or rubber spatula to spread it into an even layer about 1/4 inch thick. Prepare your candy pieces so they are ready to place once the chocolate is spread.
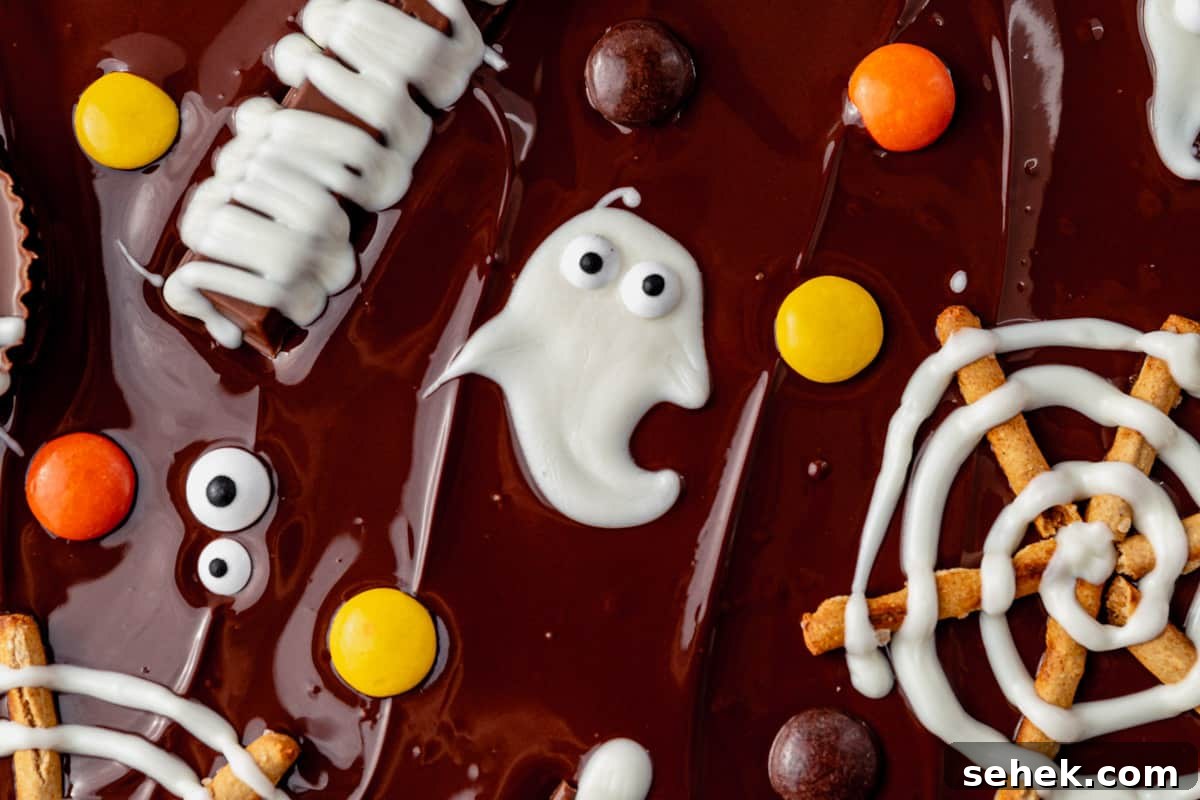
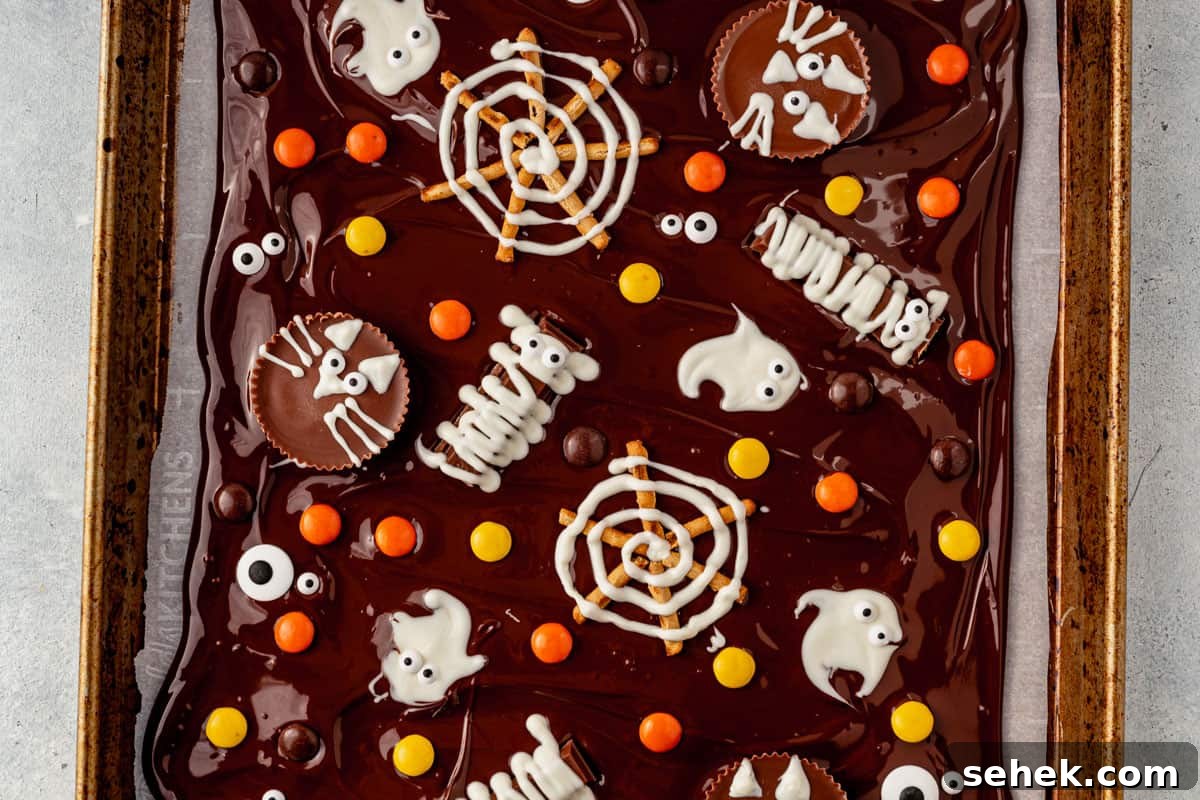
White chocolate ghosts: Pipe nickel-sized circles of white chocolate onto the melted base, then pull a toothpick to form a tail and arm shape. Finish by adding candy eyes so each ghost has a face.
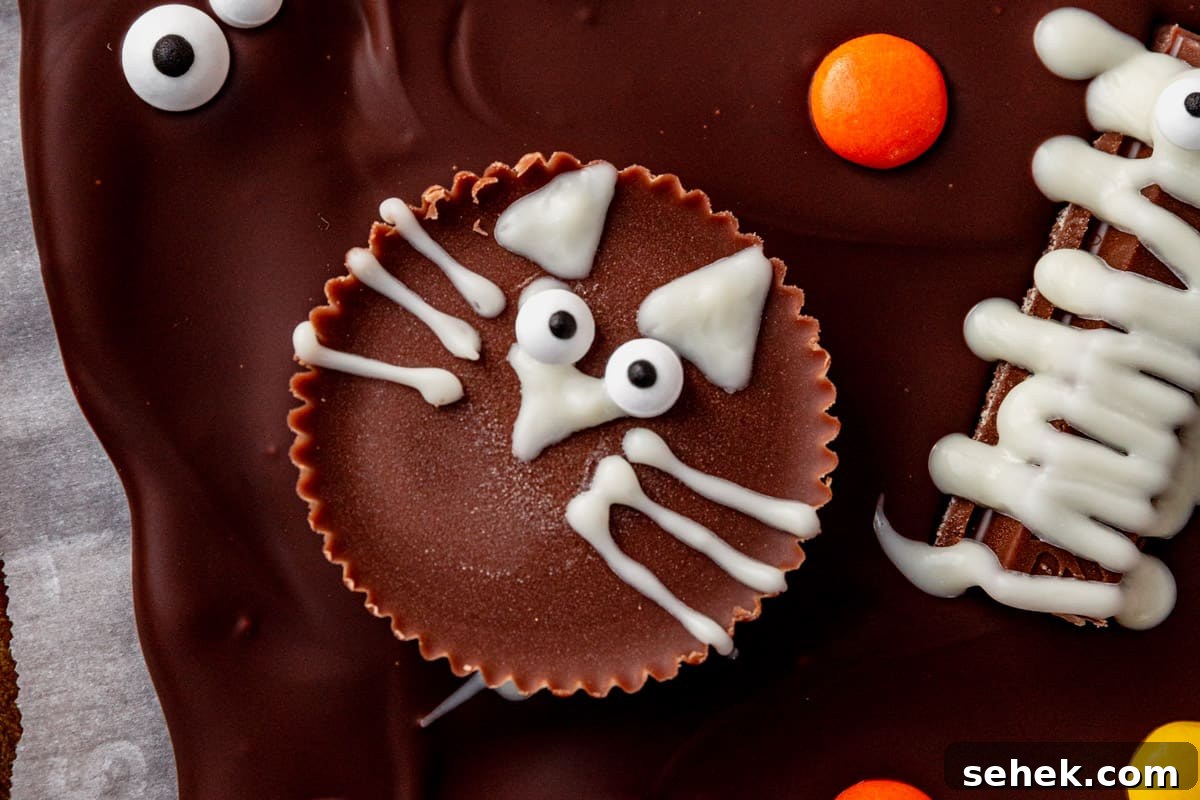
Candy cats: Press peanut butter cups or other round candies into the melted chocolate. Use a small amount of white chocolate to pipe ears, a nose, and whiskers. Add tiny dark chocolate dots for eyes and press candy eyes on top.
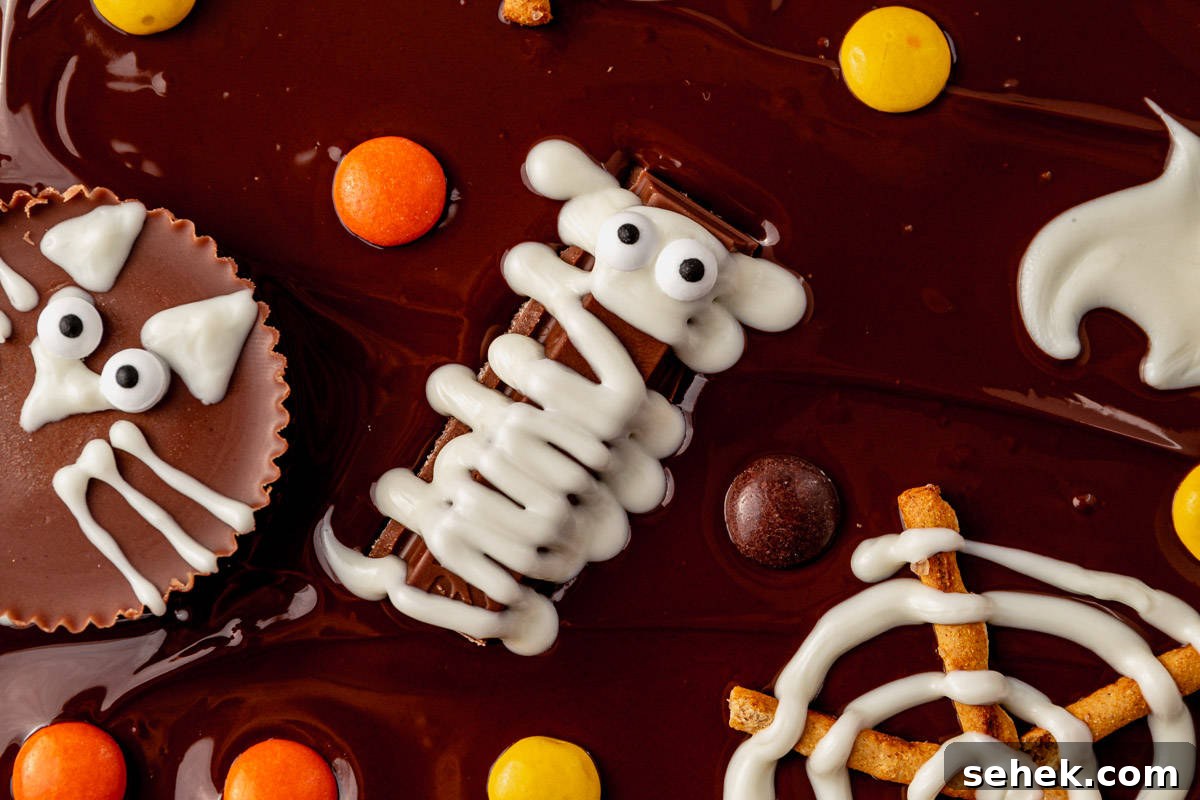
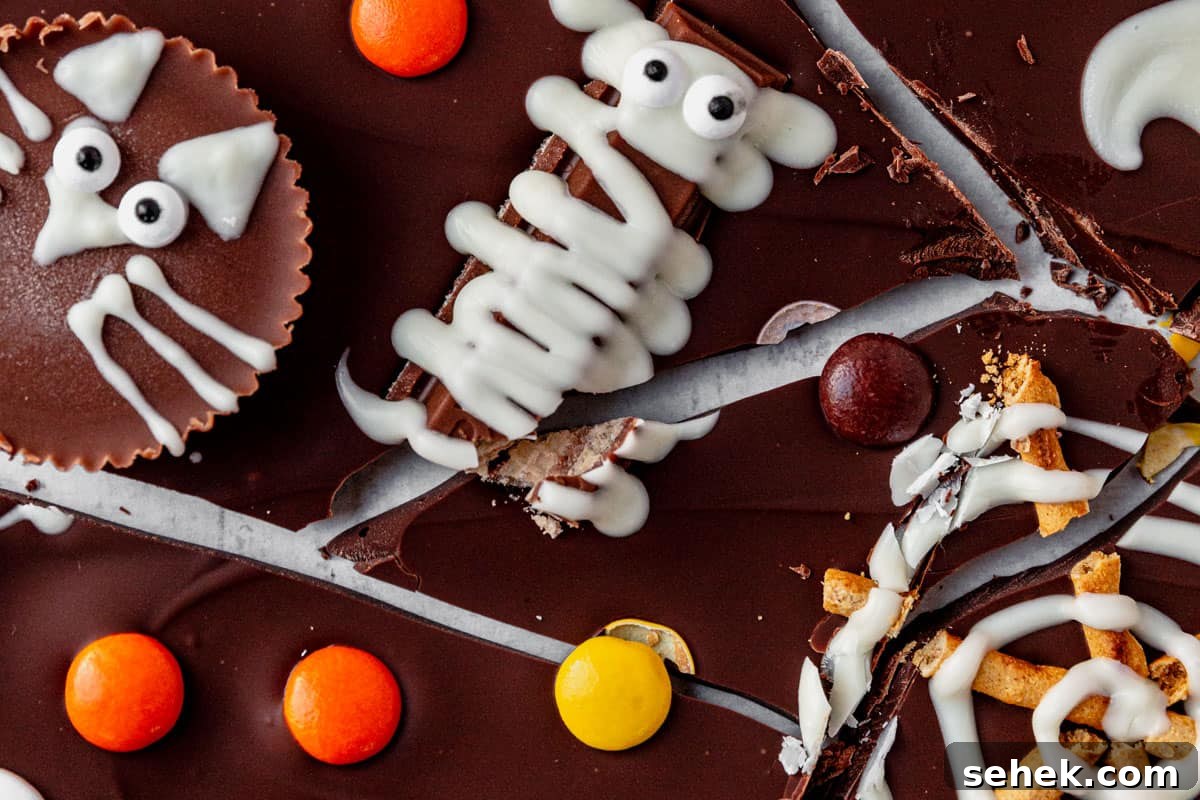
Mummies: Place Kit Kats or similar candy bars into the melted chocolate. Drizzle thin lines of white chocolate back and forth over the candy, leaving gaps so the treat resembles mummy wrappings. Add candy eyes to finish.
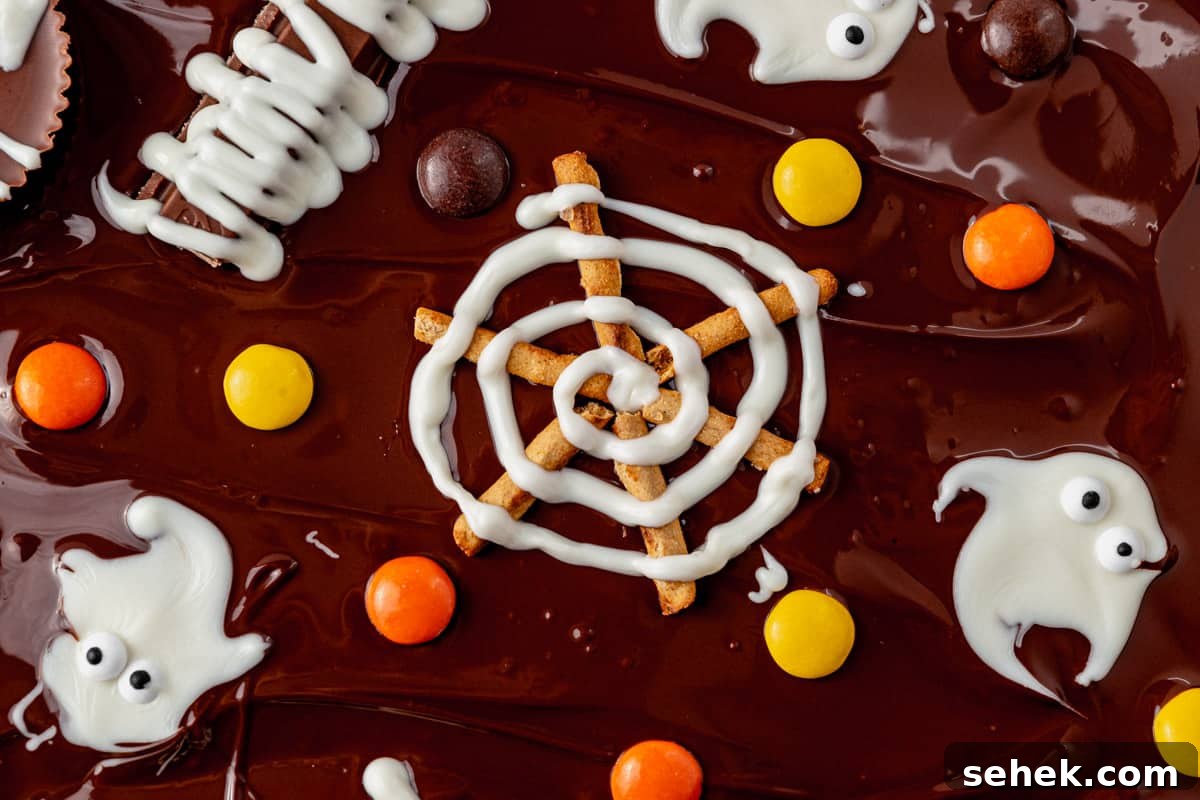
Spider webs: Cut pretzel sticks in half and arrange them in a circular pattern. Pipe white chocolate in concentric swirls over the pretzels, then drag a toothpick from center to edge to form web lines.
4. Chill until firm
Place the baking sheet in the refrigerator for at least 20–30 minutes, or until the chocolate is fully set. Chilling helps the chocolate harden quickly and makes it easier to break into neat pieces.
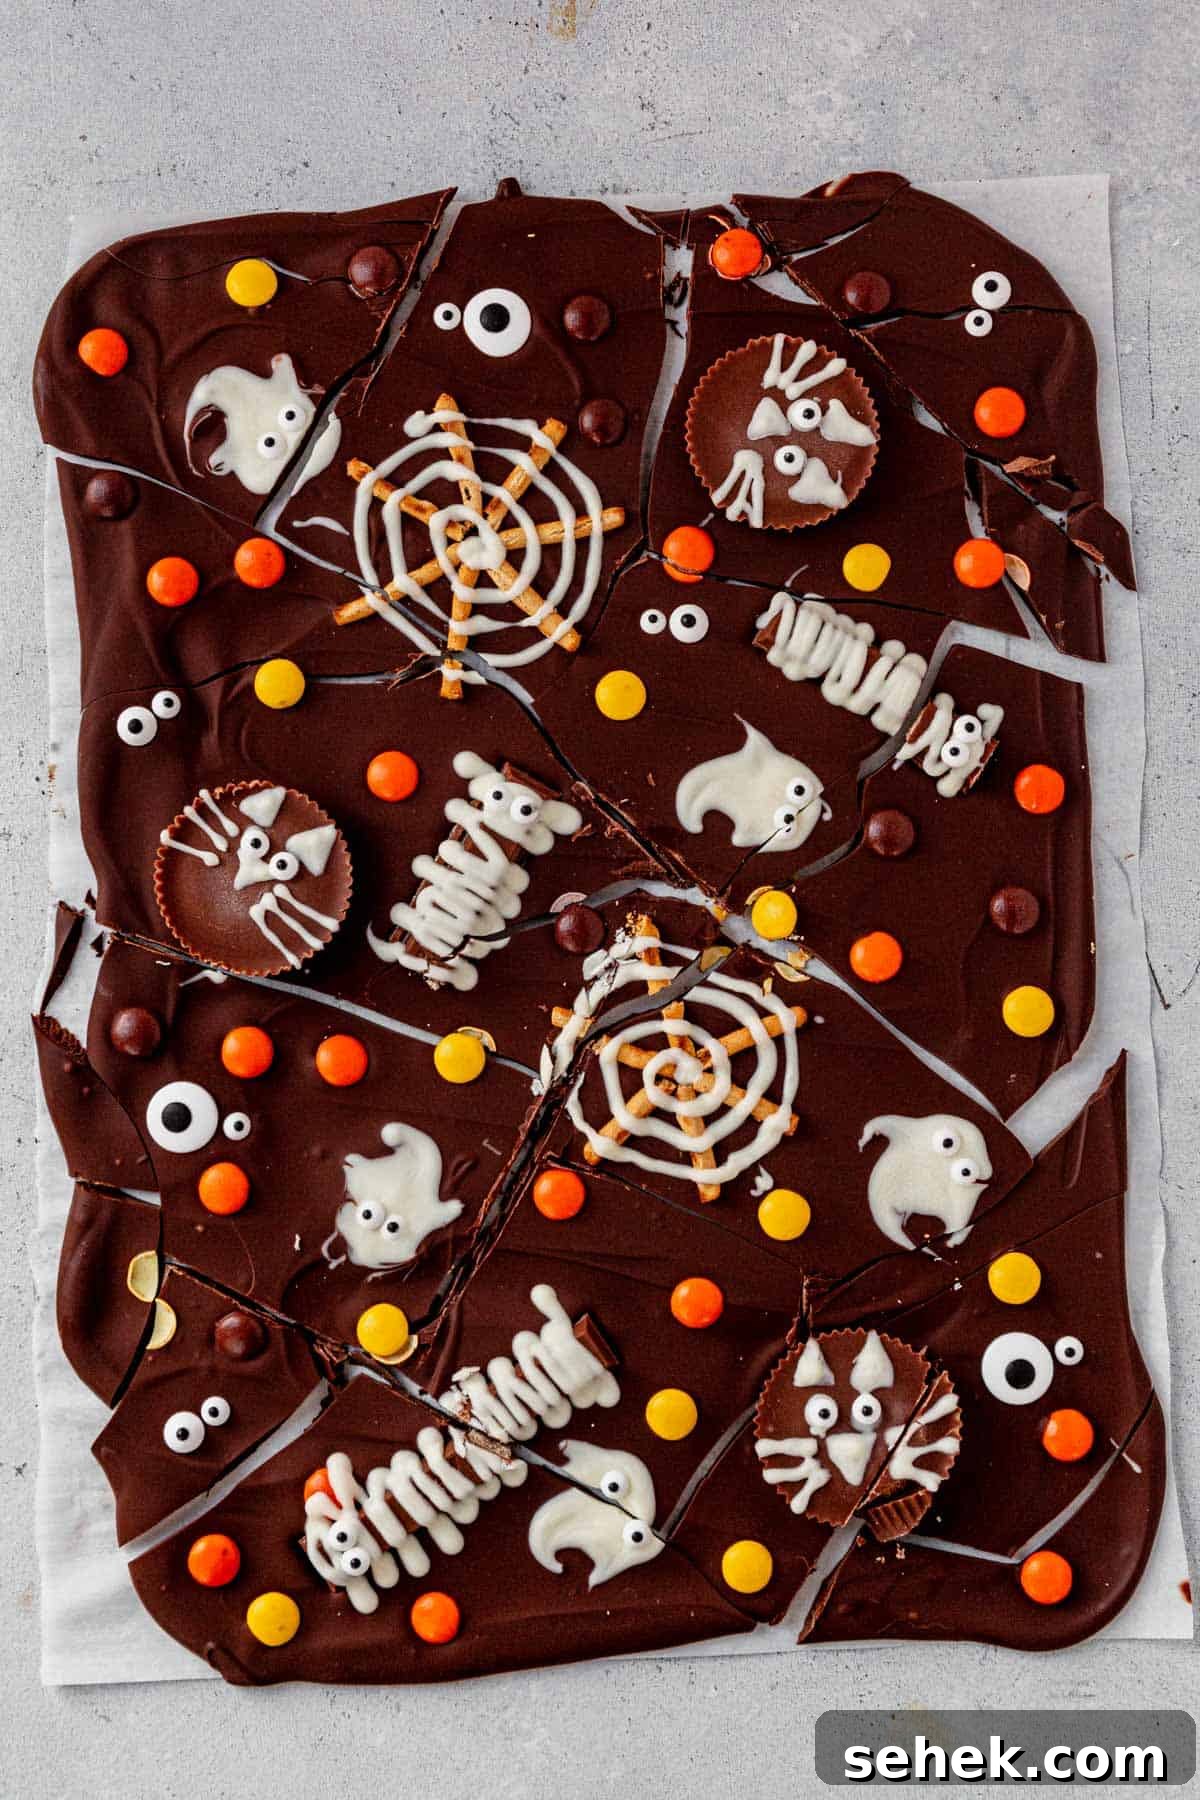
5. Break into pieces and serve
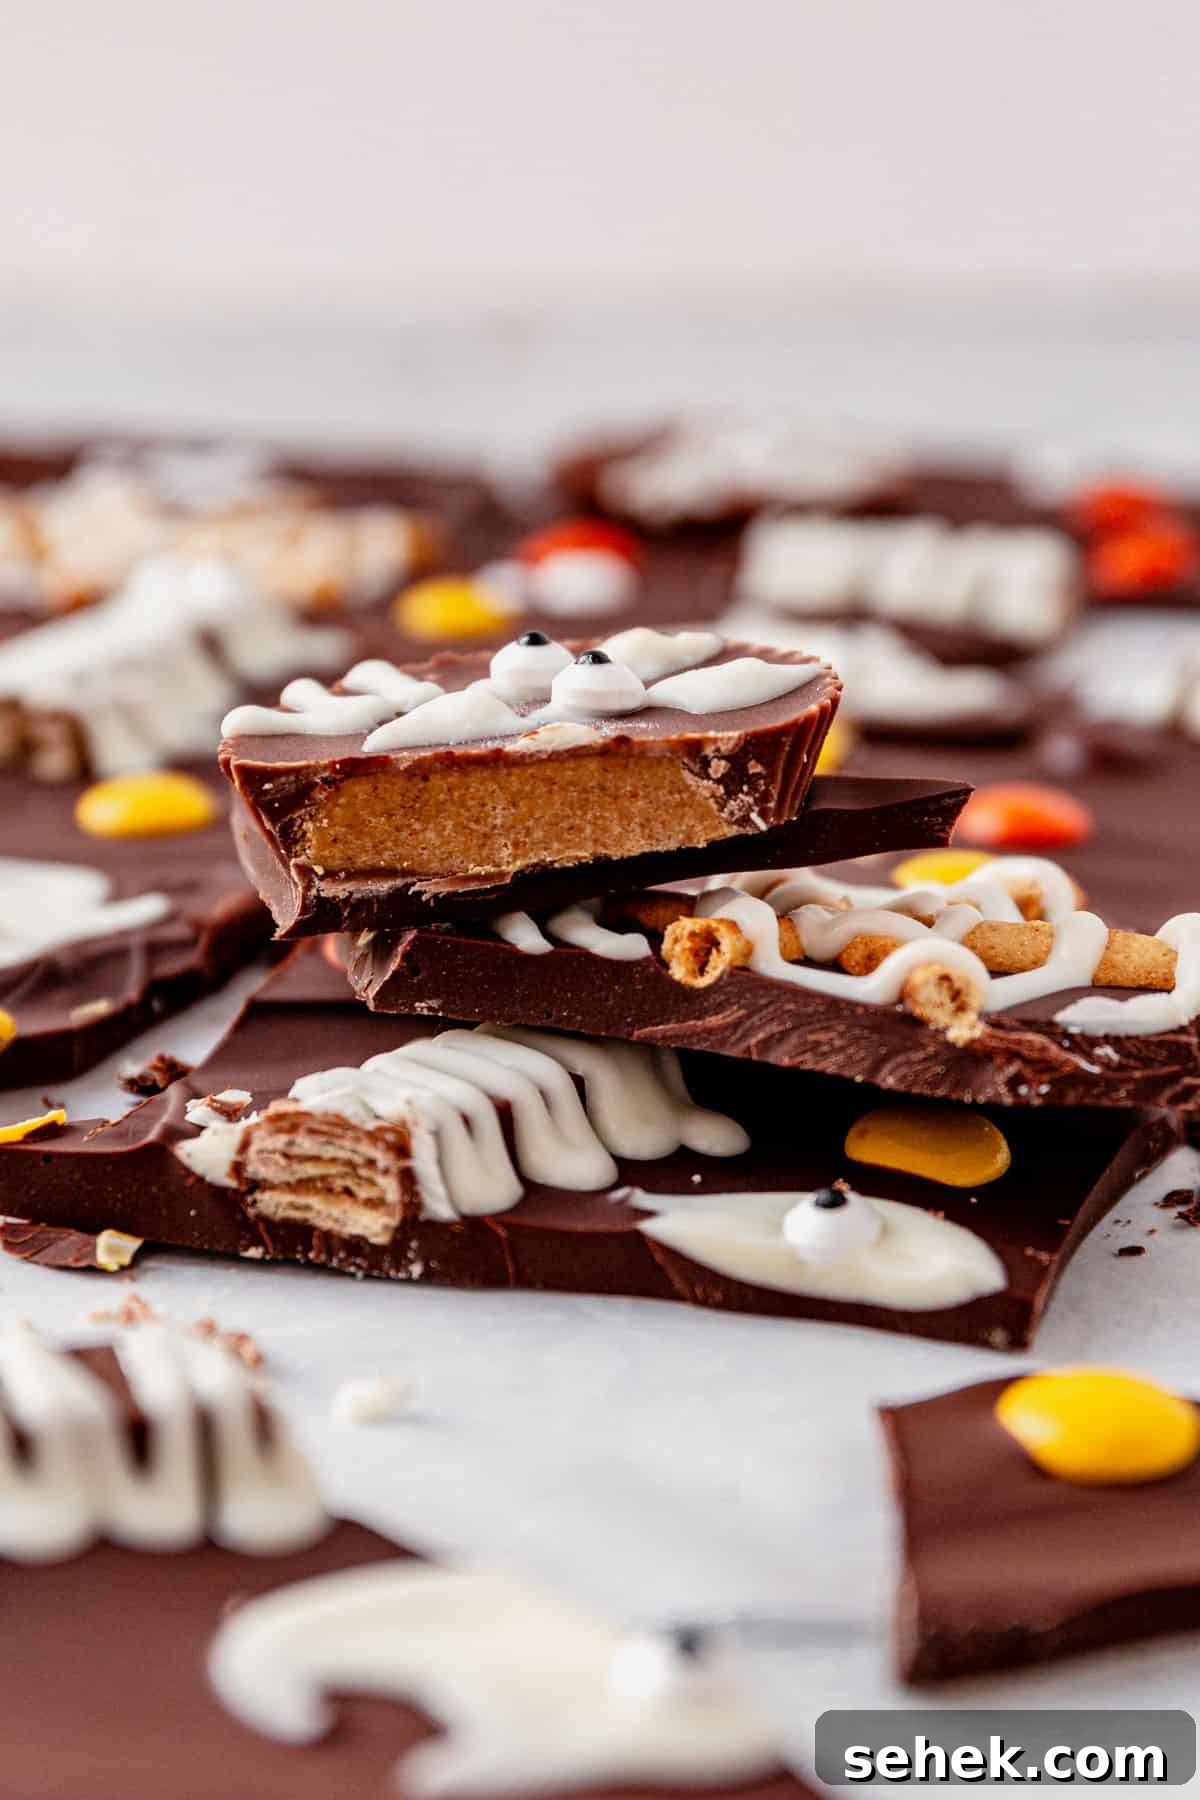
Once the bark is firm, lift it from the parchment paper and transfer to a cutting board. Use a sharp knife or break it by hand into smaller pieces for serving. Arrange on a platter and enjoy.
Recipe Variations
This Halloween bark is highly customizable. Choose a different chocolate base — white, milk, dark, or semi-sweet — and mix in whatever candies and textures you prefer. Here are some ideas to spark creativity:
- Use leftover favorites such as Snickers, Kit Kats, Reese’s cups, or Reese’s Pieces.
- Add salty elements like mini pretzels, roasted peanuts, or popcorn for contrast.
- Include crunchy cereal like Golden Grahams for extra texture.
- Decorate with Halloween sprinkles, mini marshmallows for ghosts, and plenty of candy eyes for a spooky presentation.
Freezing and Storing Tips
Allow the bark to cool to room temperature, then store it in an airtight container in the freezer for up to three months. You can also keep it in the refrigerator for several weeks, but freezing preserves freshness and texture longer.
If you try this Halloween bark, consider rating the recipe or leaving a comment to share your variations and tips. It’s a great way to inspire others and discover new decorating ideas.
More Festive Treat Recipes
- Halloween mummy pumpkin bars
- Spooky Halloween ice cream sandwiches
- Sugar-free spiderweb bark
- Peppermint pretzel bites
- Peanut butter Ritz cookies
Halloween Candy Bark Recipe
Ingredients
- 18 ounces semi-sweet chocolate chips or chocolate bars
- 8 ounces white chocolate (melting wafers or chips)
- 9–11 pretzel sticks
- 3–5 Reese’s cups (or similar round candies)
- 1 pack Kit Kats (4 sticks)
- Reese’s Pieces or other small candies, to taste
- Assorted candy eyes, big and small
Instructions
- Line a large baking sheet with parchment paper. Unwrap and prepare all candy before you start, since assembly goes quickly. Place melted white chocolate into a piping bag or a small plastic bag with a tiny corner cut for decorating.
- Place the semi-sweet chocolate in a large microwave-safe bowl and heat in 30-second increments, stirring between each until melted and smooth. Melt the white chocolate in a separate, smaller bowl using the same method.
- Pour the semi-sweet chocolate onto the prepared baking sheet and spread into an even 1/4-inch layer. Cut a very small tip from the piping bag containing white chocolate or use a small decorating tip for fine lines.
- To make ghosts, pipe nickel-sized circles of white chocolate on the melted base, then use a toothpick to pull a tail and arm. Add candy eyes to each ghost.
- For cats, press Reese’s cups into the chocolate. Pipe white chocolate to create ears, a nose, and whiskers; add small chocolate dots for eyes and attach candy eyes.
- To make mummies, set Kit Kats into the melted chocolate and drizzle white chocolate across them in lines, leaving small gaps for the wrapped look. Add candy eyes.
- For spider webs, cut pretzel sticks in half and arrange them in a circular pattern. Pipe white chocolate in concentric circles, then drag a toothpick outward to create web lines.
- Fill remaining spaces with Reese’s Pieces, more candy eyes, and other small candies so each broken piece will have a variety of toppings.
- Chill in the refrigerator until solid, about 20–30 minutes. Break or cut into pieces and serve. Store in an airtight container in the freezer for up to three months.
Nutrition (approximate per serving)
Calories: 372 kcal | Carbohydrates: 36 g | Protein: 4 g | Fat: 24 g | Saturated fat: 14 g | Sugar: 29 g
Nutrition information is automatically calculated and should be used only as an estimate.