This post may contain affiliate links. Please read my full disclosure policy.
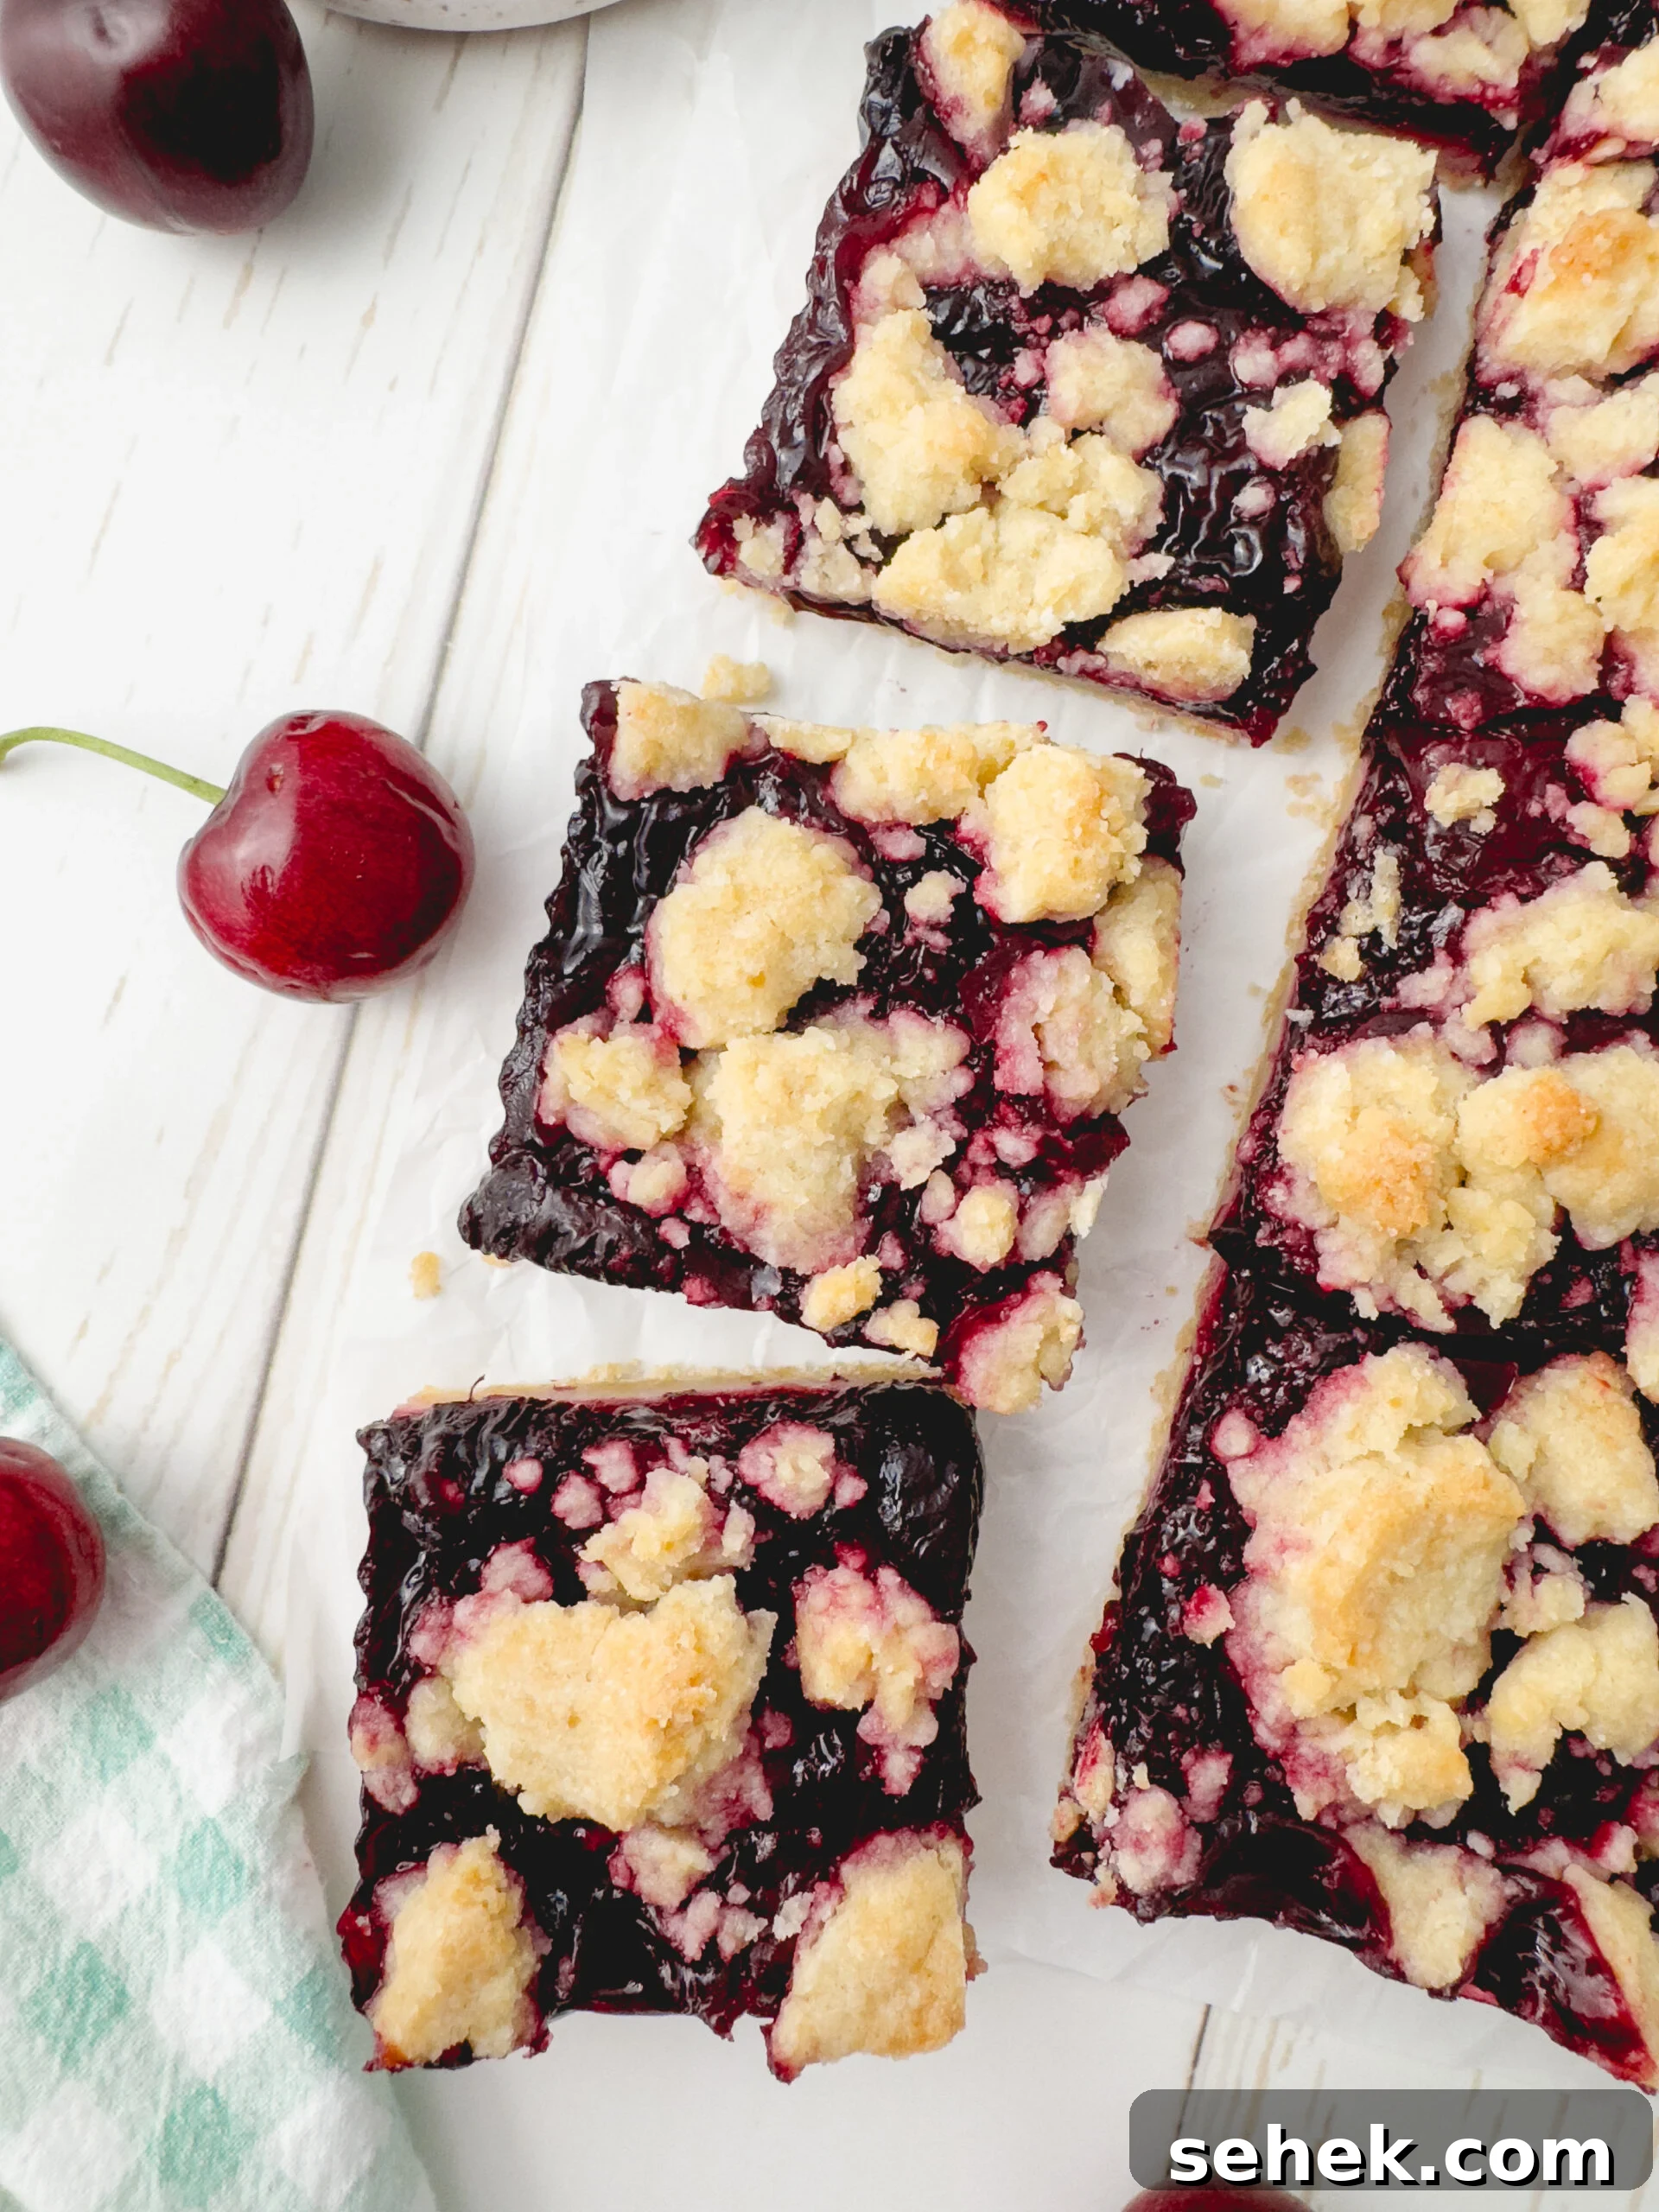
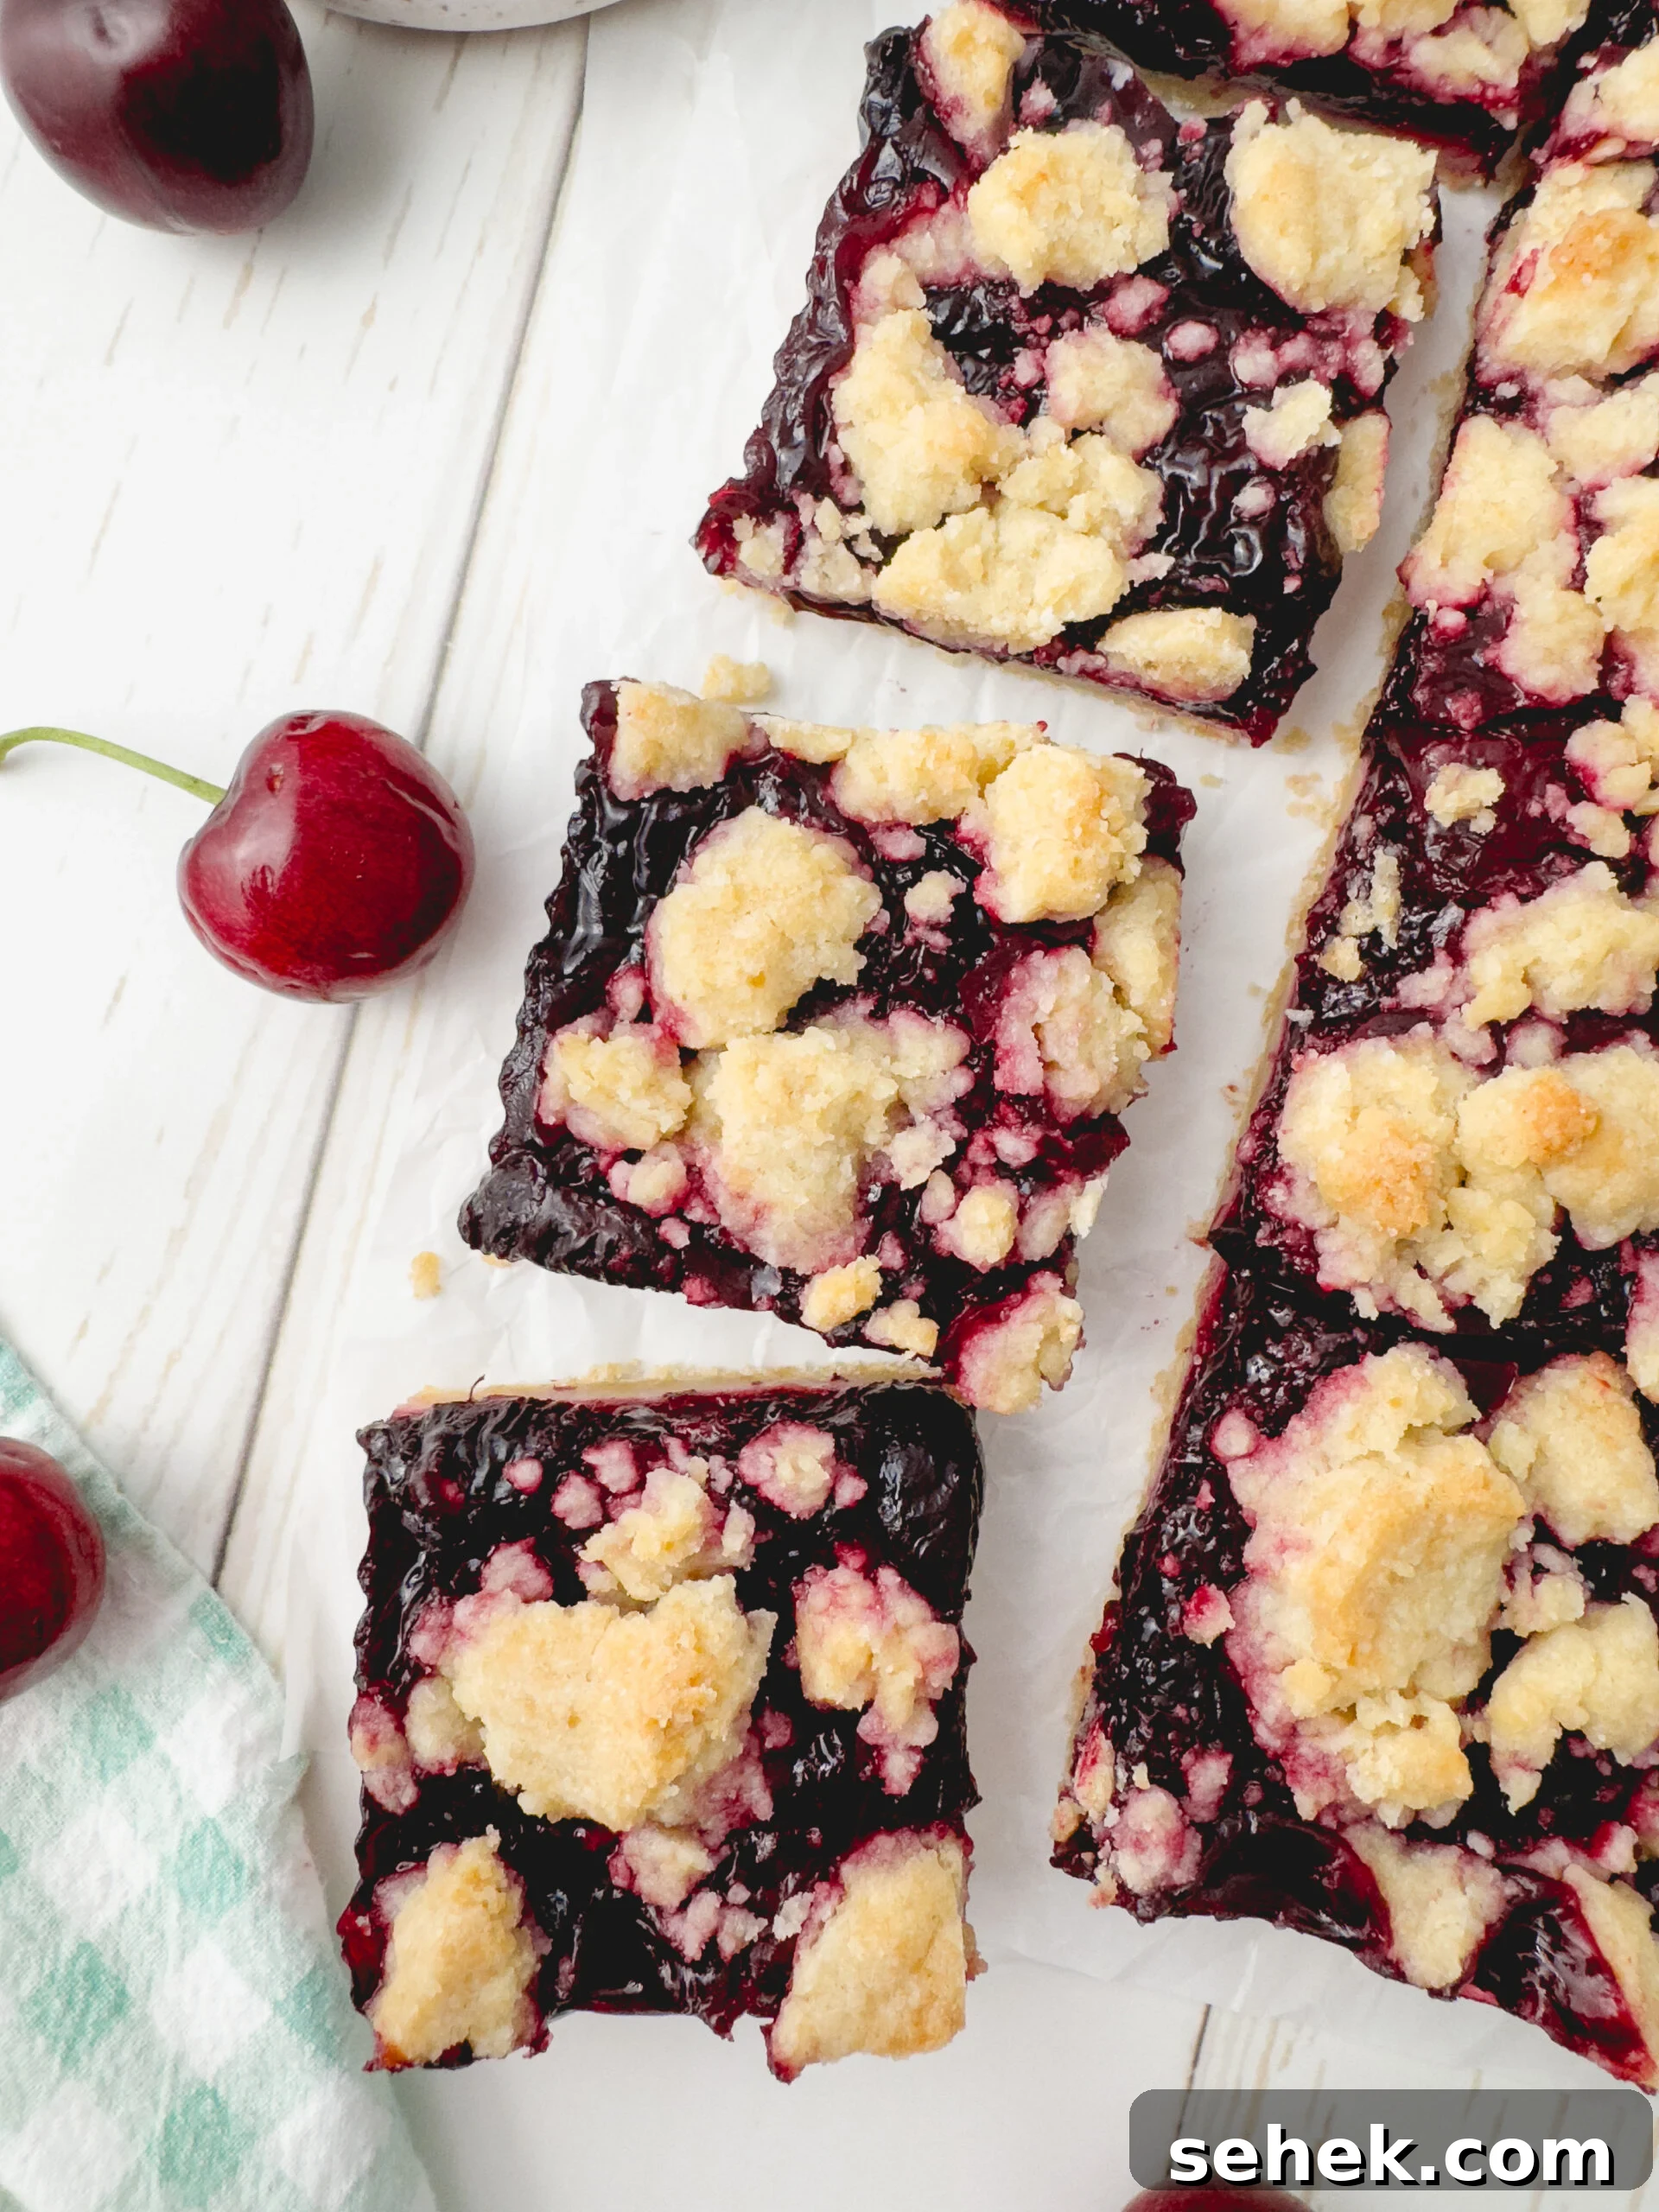
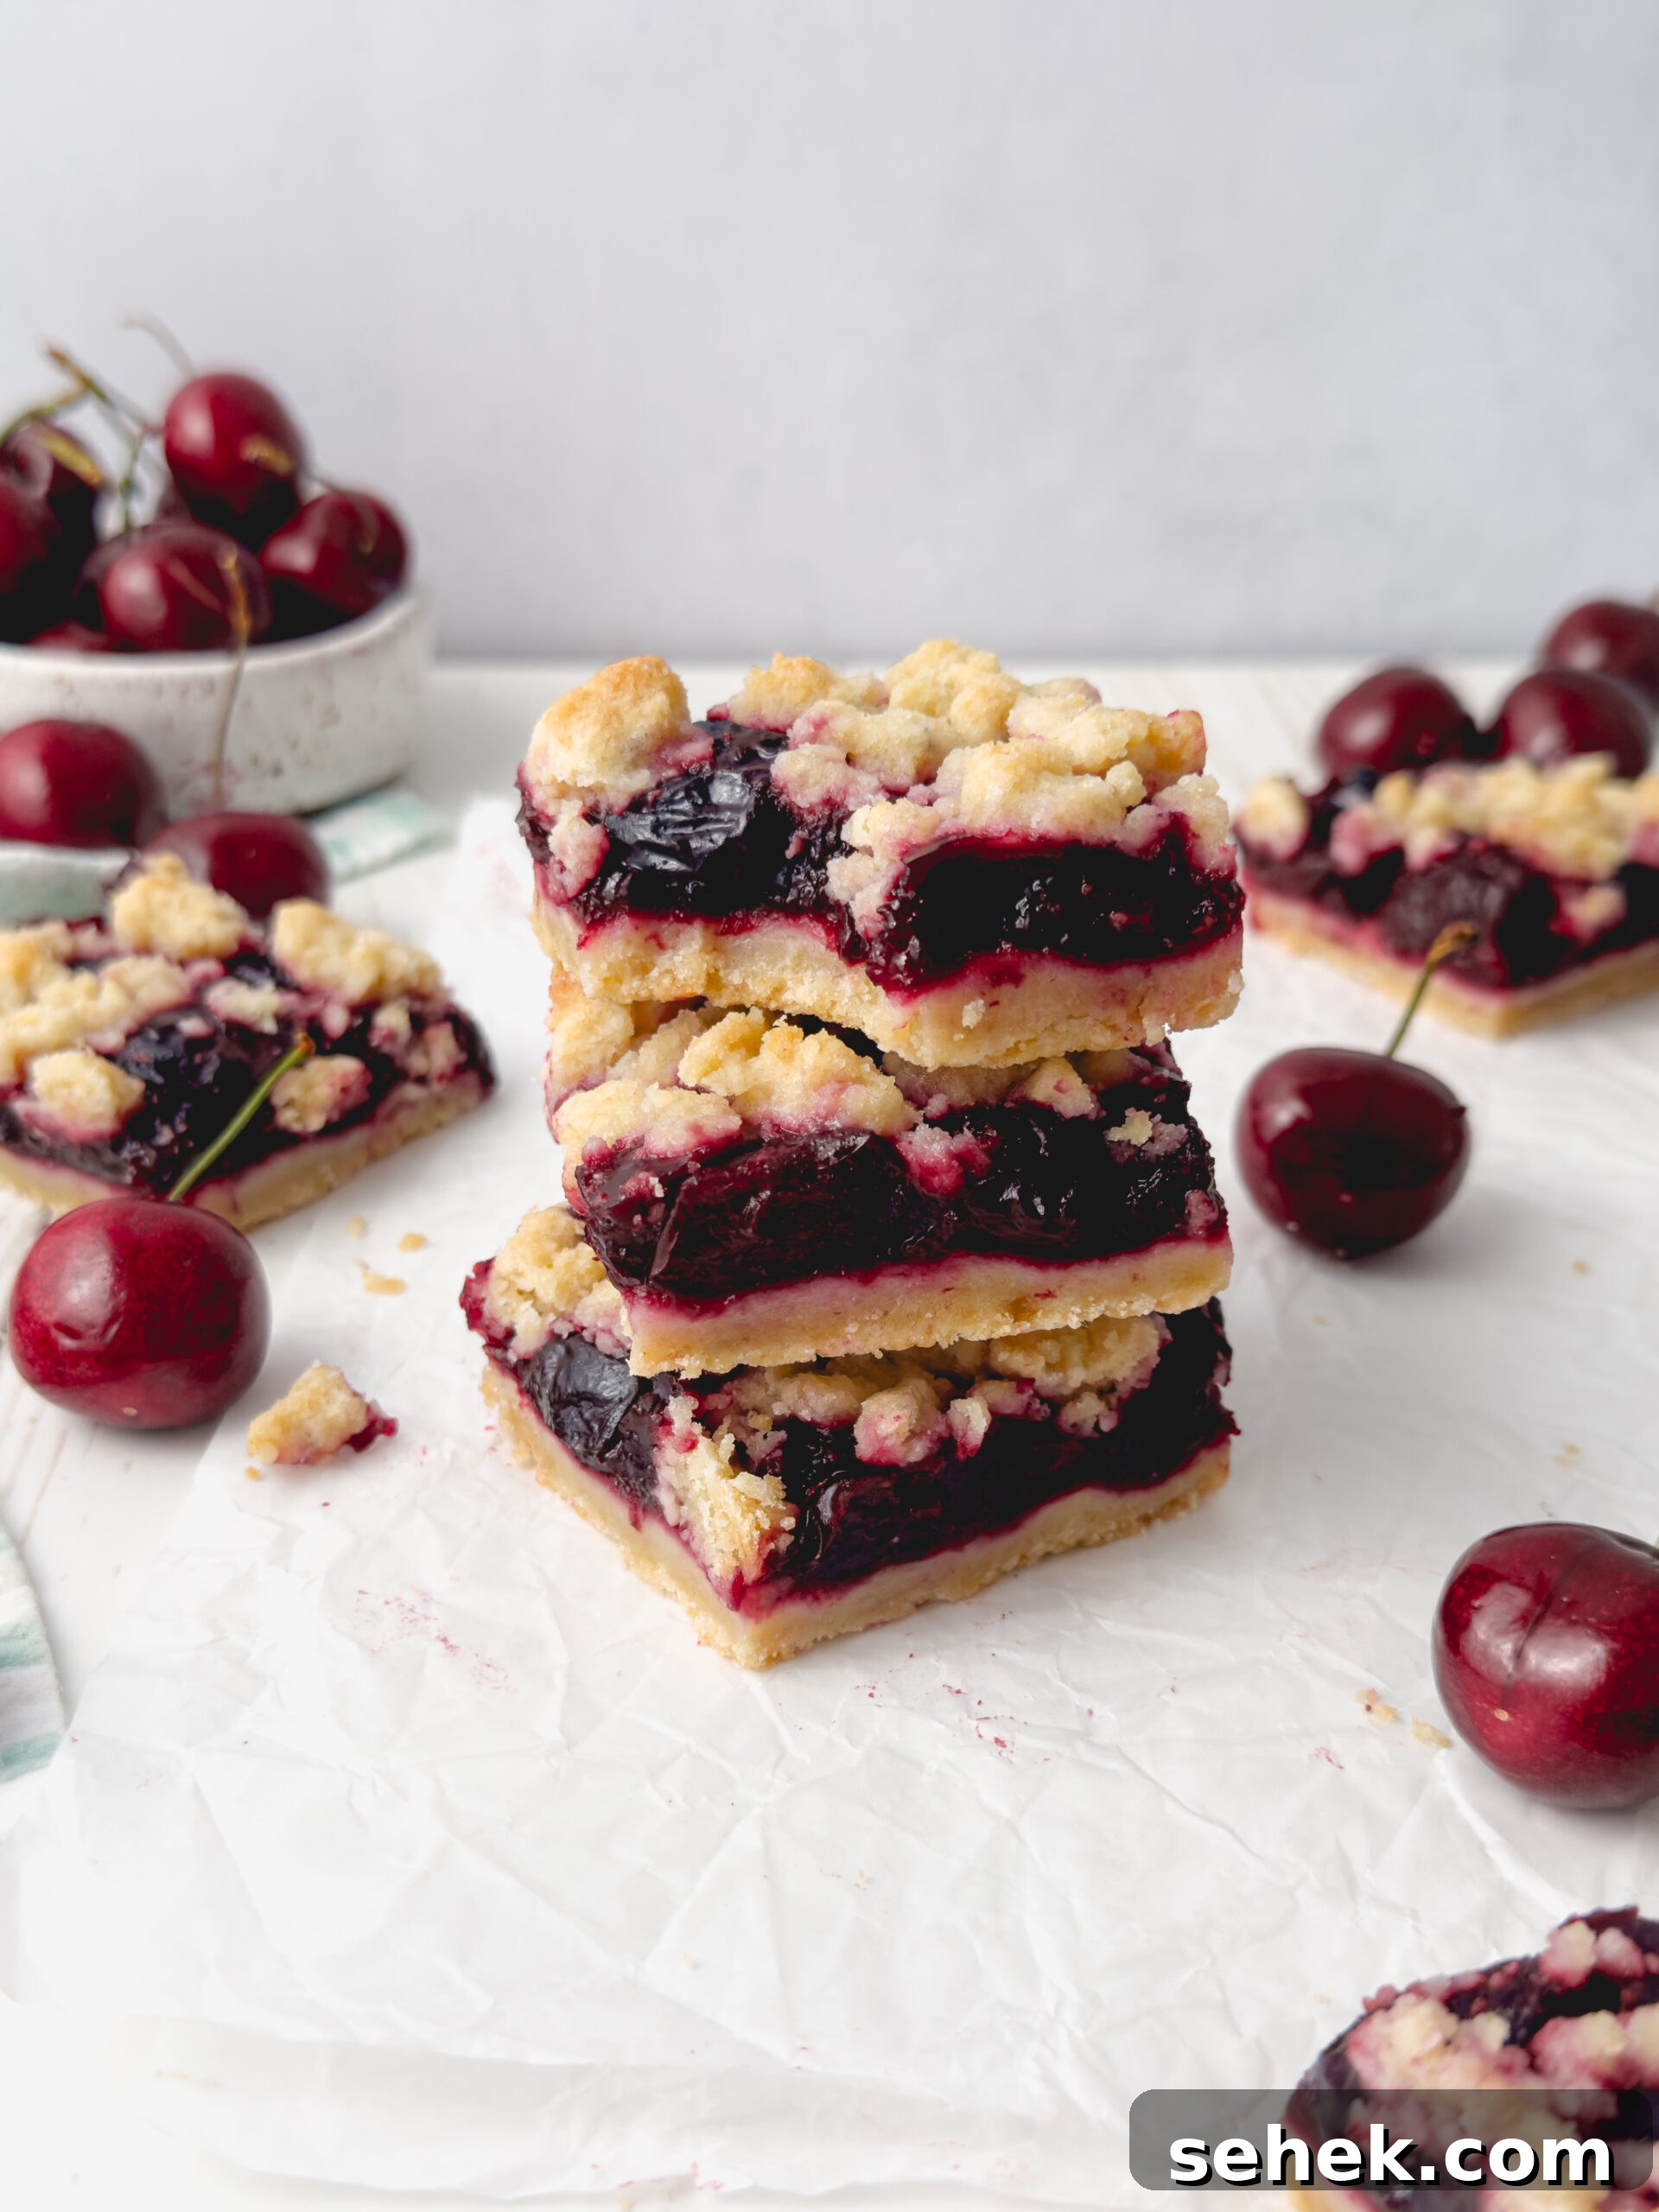
Cherry season brings bright, juicy fruit and the perfect opportunity to bake Cherry Crumb Bars. These treats begin with a tender, buttery shortbread base, a layer of homemade cherry filling, and a generous crumble topping. They’re straightforward to make and work equally well with fresh or frozen cherries, so you can enjoy them whenever you’re craving something fruity and comforting.
How to Make Cherry Pie Bars
Prepare the cherry filling
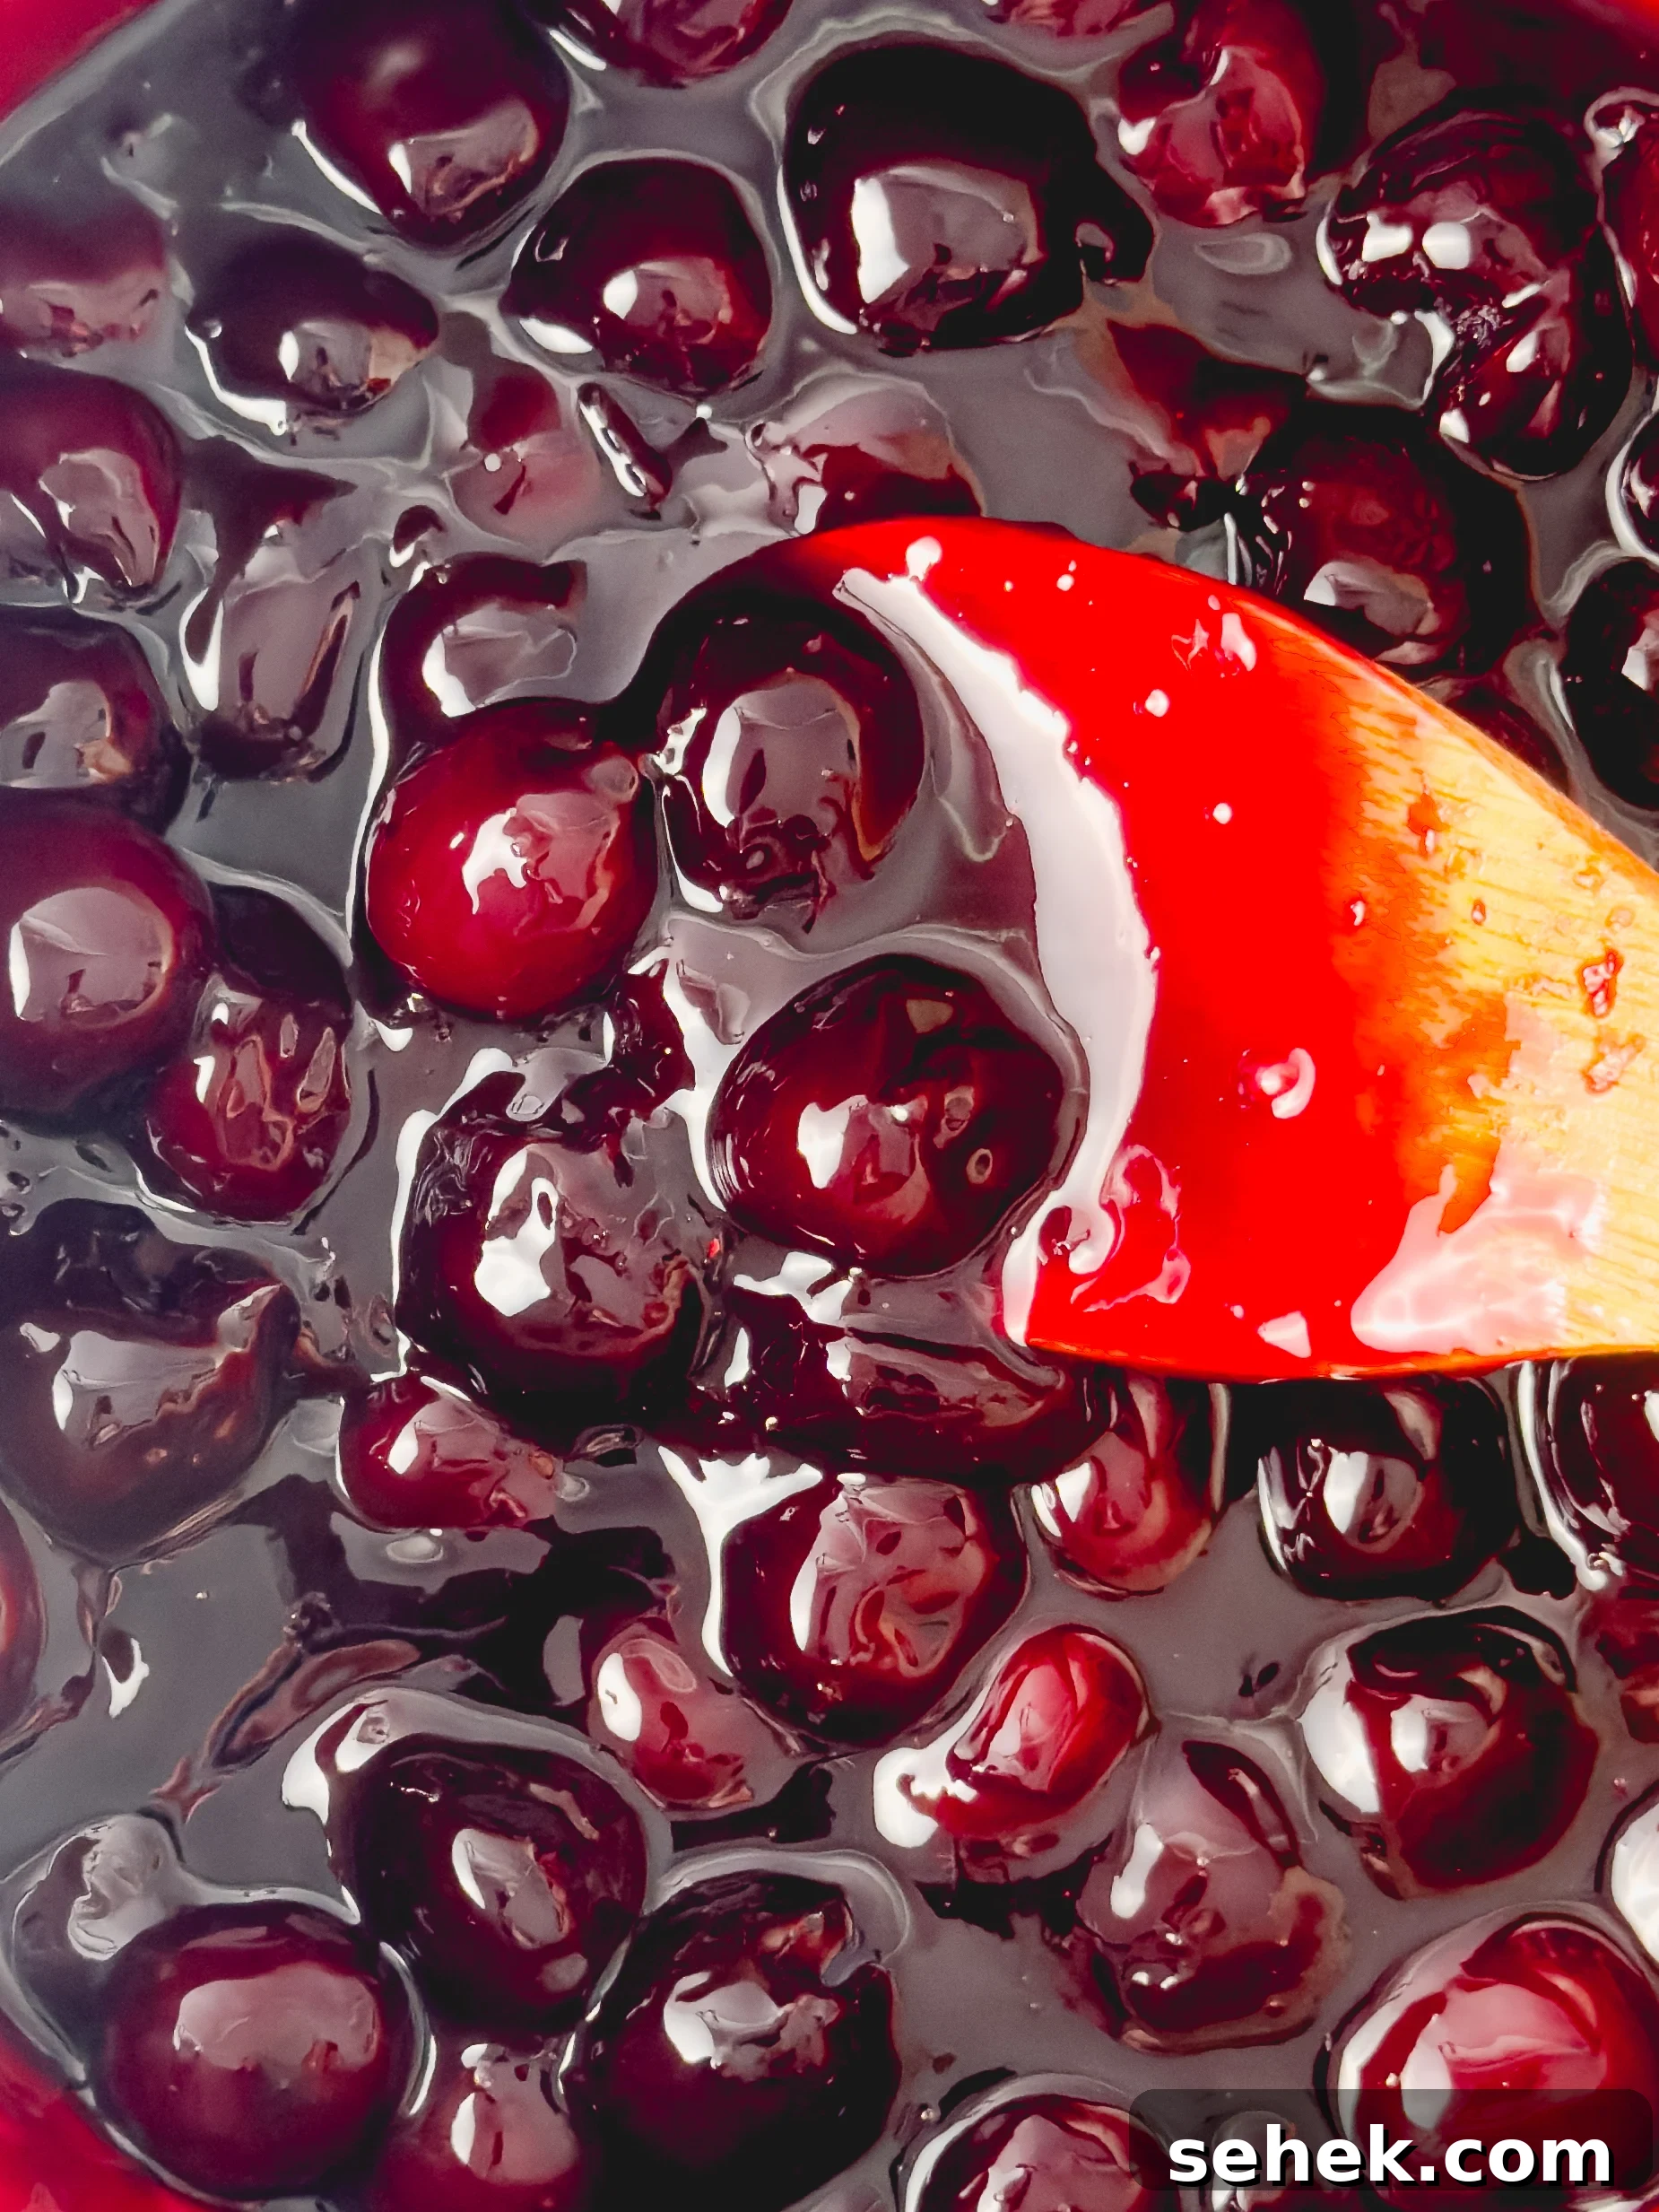
Start the filling by combining pitted cherries with sugar, cornstarch, lemon juice, lemon zest, and a small amount of water in a saucepan over medium heat. As the mixture simmers, the cherries will soften and release their juices while the cornstarch thickens the liquid into a glossy compote. Stir frequently to prevent sticking and cook until the filling is thick and slightly bubbling. Finish with a splash of vanilla and set it aside to cool.
Make the shortbread crust and crumble
The crust and topping come from the same shortbread dough. In a bowl, blend all-purpose flour with granulated sugar, brown sugar, baking powder, and salt. Stir in melted butter and vanilla until the mixture forms coarse crumbs that hold together when pressed but still break apart easily. This texture gives you a firm base and a delicate, flaky topping after baking.
Assemble the bars
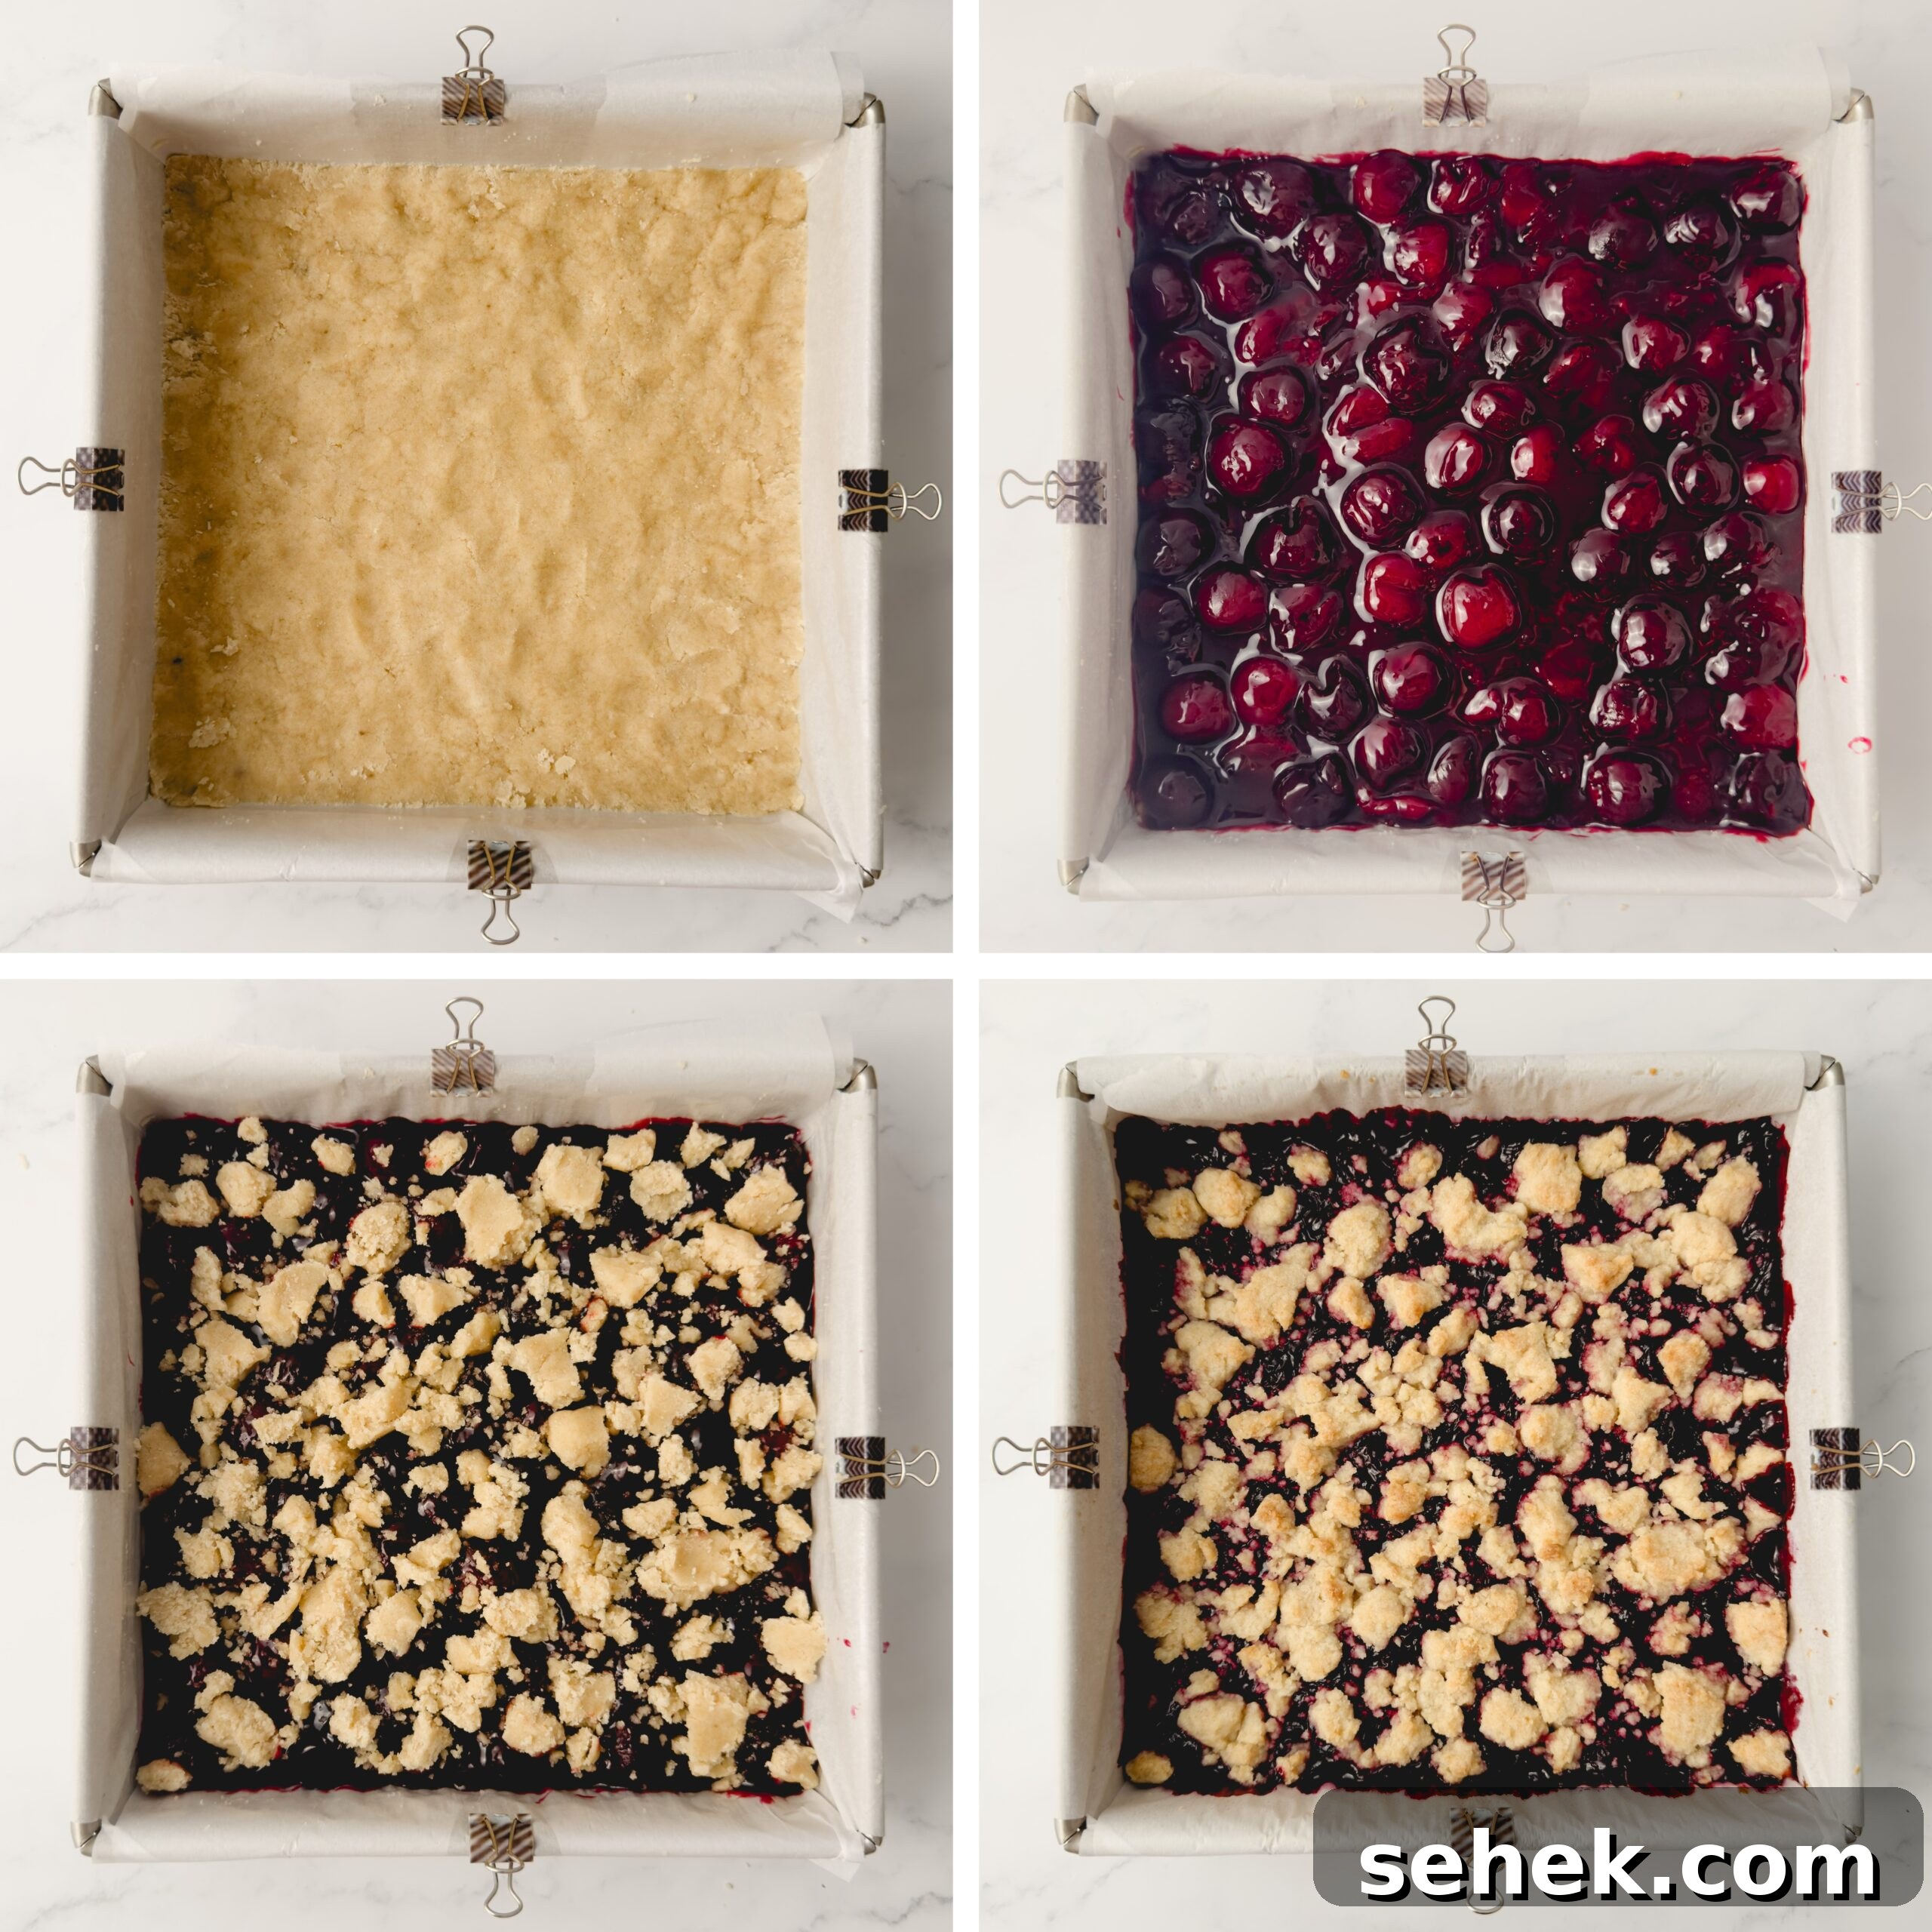
Line a 9-inch square pan with parchment paper, leaving an overhang for easy lifting. Press about two-thirds of the shortbread mixture evenly into the bottom of the pan to form a compact layer; the flat base of a measuring cup helps achieve an even surface. Spread the cooled cherry filling on top, then sprinkle the remaining shortbread crumbs evenly over the cherries to create a rustic crumb topping.
Bake & Chill
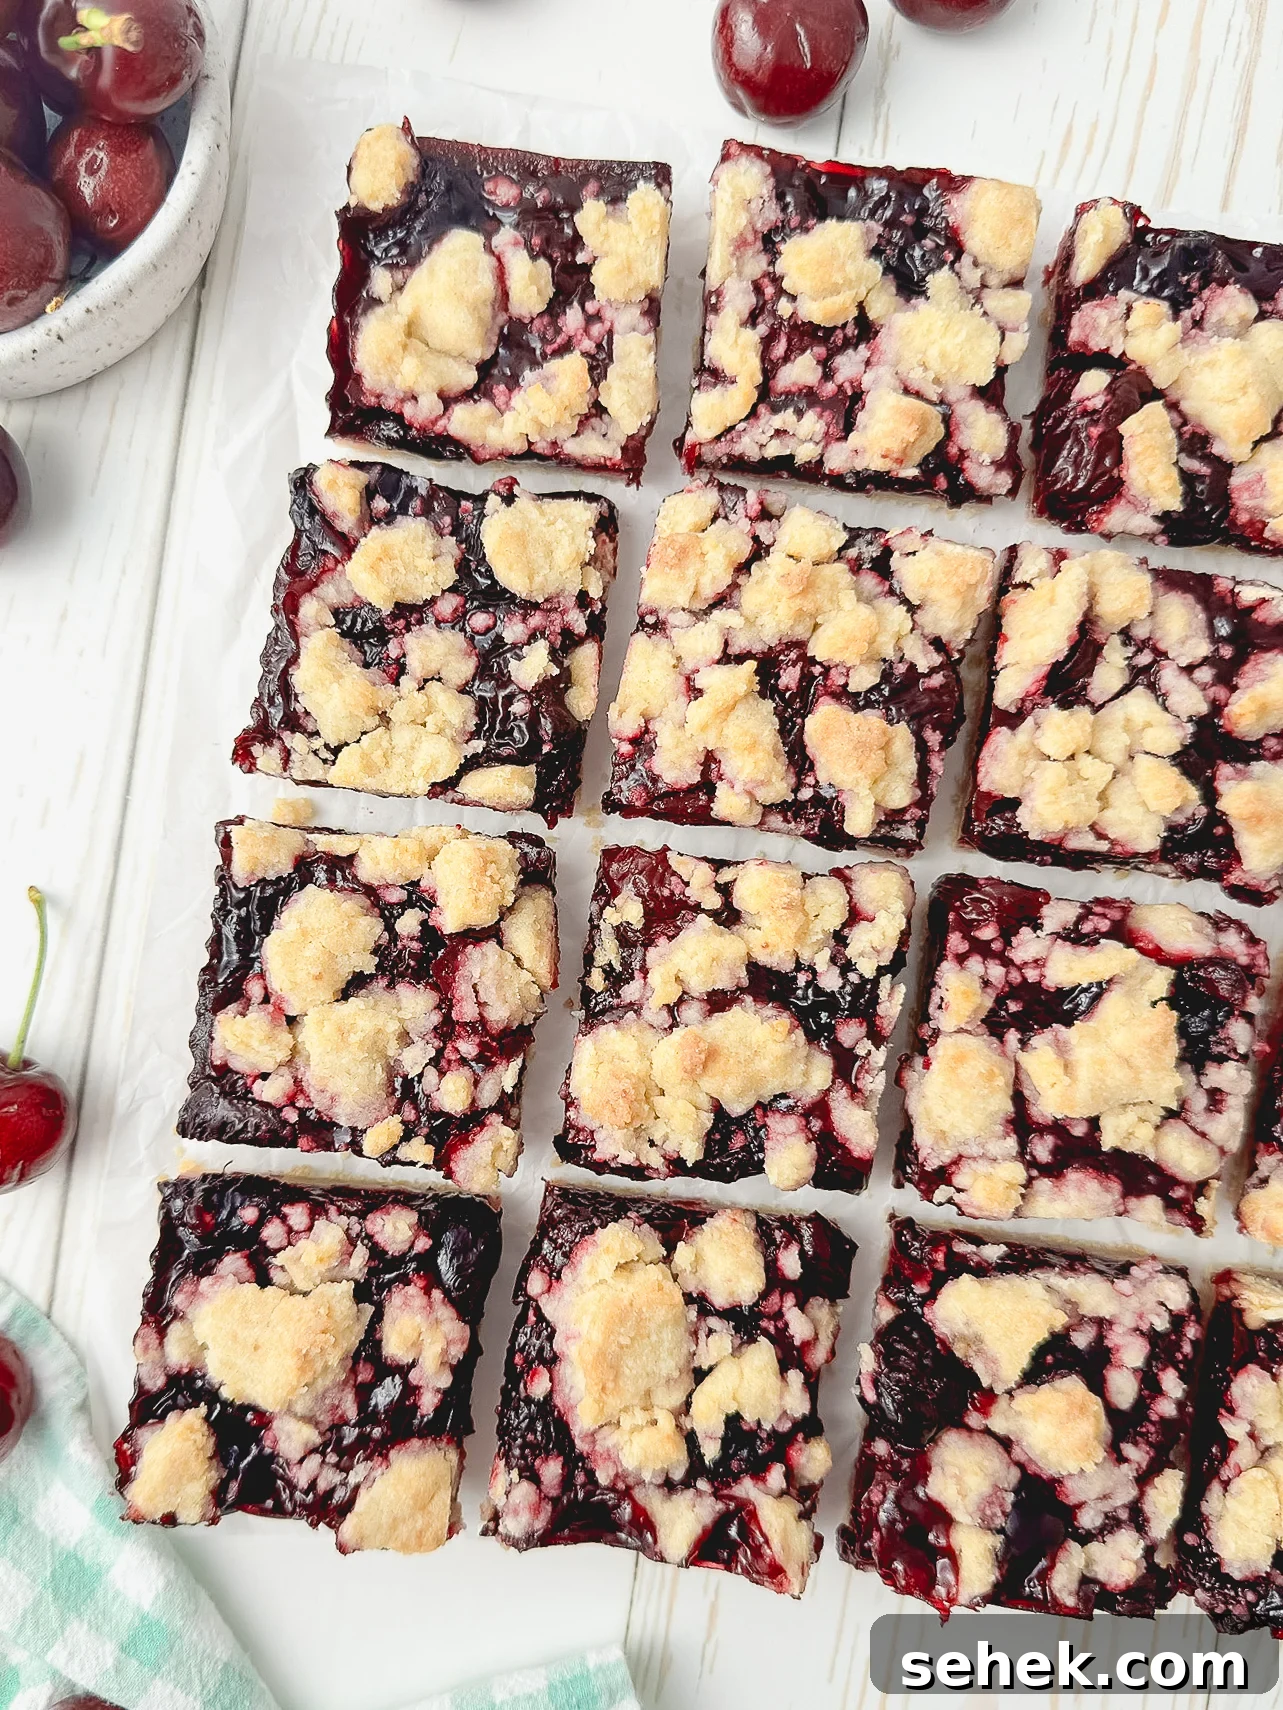
Bake at 350°F (175°C) for about 32–35 minutes, until the cherry filling bubbles around the edges and the shortbread turns a light golden color. Let the bars cool to room temperature, then refrigerate for at least an hour to let the filling set—this makes slicing much cleaner. Serve chilled or at room temperature, depending on your preference.
Cherry Crumb Bars FAQs
How should I store them?
Keep the bars in an airtight container. They will stay fresh at room temperature for up to 3 days or refrigerated for up to 5 days. For longer storage, freeze the bars in a sealed container for up to 3 months; layer them with parchment paper to prevent sticking and thaw in the fridge before serving.
Fresh or frozen cherries—which is better?
Both work well. Fresh cherries provide the best texture and flavor when in season, while frozen cherries are convenient and reliable year-round. If using frozen, allow the fruit to thaw slightly while cooking and break up larger pieces so the filling thickens evenly.
Should I use sweet or sour cherries?
This recipe was developed with sweet cherries in mind. If you prefer to use sour cherries, increase the sugar slightly to balance the tartness and taste as you go so the filling reaches the desired sweetness.
Can I use canned cherry pie filling?
If you’re short on time, canned cherry pie filling is an acceptable shortcut. Fresh or homemade compote delivers a brighter flavor and fresher texture, but canned filling will still produce tasty bars.
Tips for the Best Cherry Crumb Bars
- Let the filling cool: Prepare the cherry filling first so it has time to cool before adding it to the shortbread base. It can be slightly warm, but avoid pouring it in piping hot.
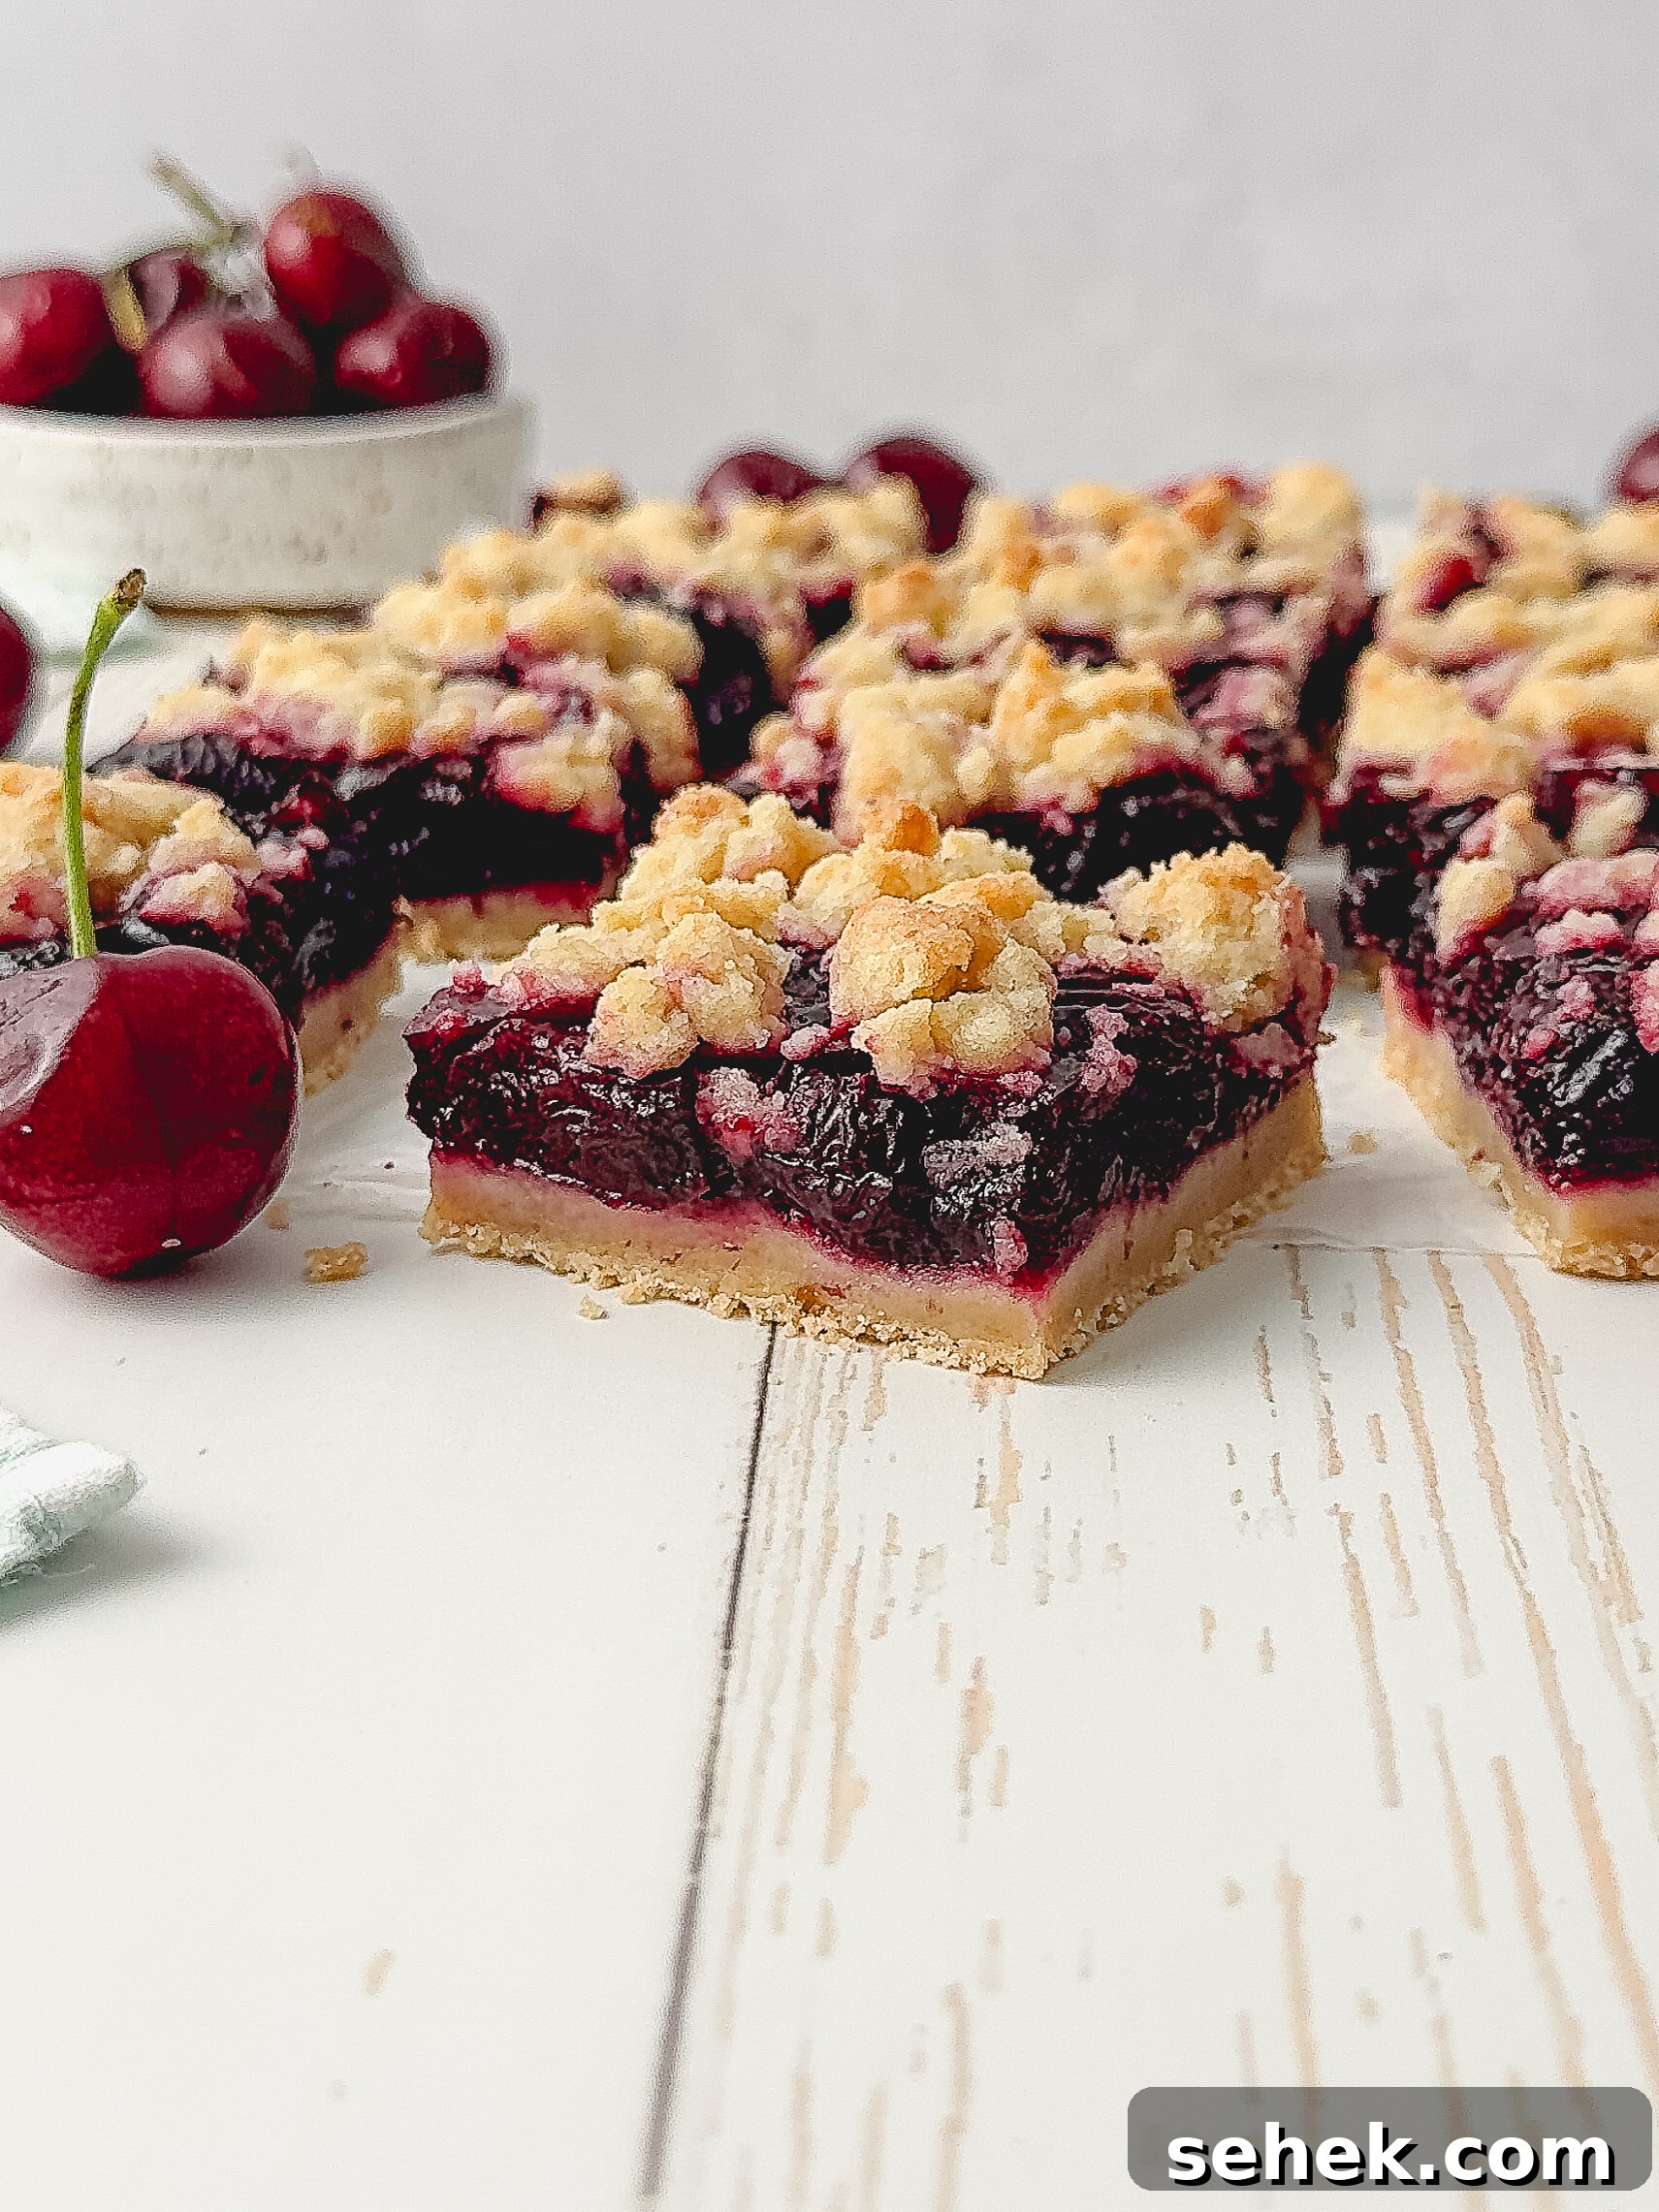
- Use a hot knife for clean slices: Wipe a sharp knife clean between cuts and dip it in hot water before slicing. This helps the blade glide through the filling and shortbread for neater pieces.
- Chill before cutting: Refrigerating the bars after they cool to room temperature firms the filling and makes slicing easier and less messy.
Pan size and variations
If you only have an 8-inch square pan, it will work—expect slightly thicker bars and a modest increase in baking time. You can also chop cherries smaller if you prefer a finer fruit texture; a potato masher or spoon can break down frozen cherries as they cook.
More Fruit Desserts You’ll Love
- Peaches & Cream Crumb Cake
- Mixed Berry Streusel Bars
- Blueberry Nectarine Upside-Down Cake
- Cranberry Apple Crisp
- Blueberry Almond Skillet Crisp
If you try this recipe, please leave a comment to share how it turned out. Happy baking!
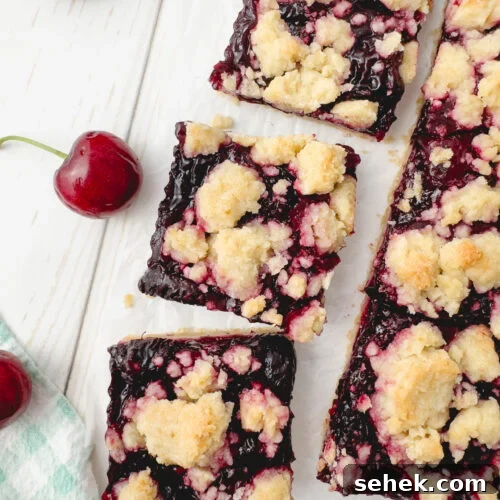
Cherry Crumb Bars
Print Recipe
RATE THIS RECIPE
Ingredients
For the Cherry Filling
- 4 cups (24oz/680g) pitted cherries, fresh or frozen
- ½ cup granulated sugar (100g)
- 2 Tablespoons fresh lemon juice (30g)
- 2 Tablespoons water (30g)
- 2 Tablespoons cornstarch (20g)
- zest of half a lemon
- 1 teaspoon vanilla extract
For the Shortbread Crust & Crumbs
- 2 cups all-purpose flour (260g)
- ½ cup granulated sugar (100g)
- ¼ cup brown sugar (50g)
- ¾ teaspoon baking powder
- ¼ teaspoon salt
- ¾ cup unsalted butter (170g), melted
- 1 teaspoon vanilla extract
Instructions
-
Cherry Filling: In a medium saucepan, combine the cherries, sugar, lemon juice, water, cornstarch, and lemon zest.
-
Cook over medium heat, stirring frequently, until the cherries soften and the mixture thickens and comes to a gentle boil, about 10–15 minutes.
-
Allow the filling to simmer for about 1 minute while stirring, then remove from heat and stir in the vanilla. Set aside to cool.
-
Preheat oven to 350°F (175°C). Line a 9” x 9” square pan with parchment paper to form a sling and lightly grease the paper.
-
Shortbread Crust & Crumbs: In a large bowl, combine flour, both sugars, baking powder, and salt. Add the melted butter and vanilla, mixing until the mixture forms coarse crumbs.
-
Assembly: Press about two-thirds of the shortbread mixture into the bottom of the prepared pan until firmly packed. Use a measuring cup to press it into an even layer.
-
Spread the cooled cherry filling evenly over the base and crumble the remaining shortbread into small pieces across the top.
-
Bake for 32–35 minutes, until the filling bubbles and the top is golden. Remove from the oven and cool to room temperature.
-
Chill in the refrigerator to set the filling before slicing. Cut into squares and enjoy.